 |
| Click on image for closer look. |
Materials
Stamp Sets
* Nature Sings
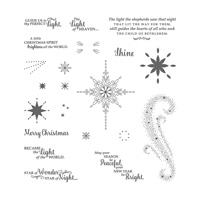
* Star of Light
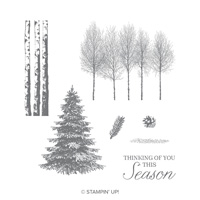
* Winter Woods
Paper
* Whisper White Thick card stock (8-1/2" x 5-1/2")
* Whisper White card stock (4-3/4" x 3-1/2" x 2)
* Shaded Spruce card stock (5" x 3-3/4" x 2)
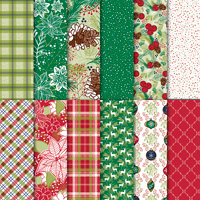
* Under the Mistletoe Designer Series Paper ("DSP") (about 5-3/4" x 2-1/2")
Ink
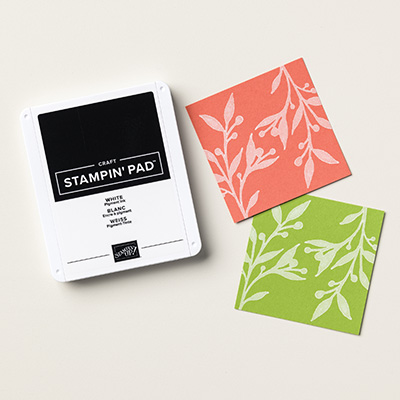
* Shaded Spruce Classic Stampin' Pad
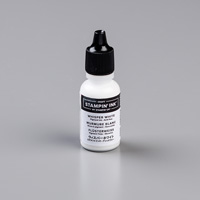
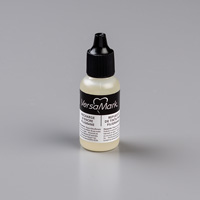
* Whisper White Craft Stampin' Pad or VersaMark Pad
Accessories and Tools
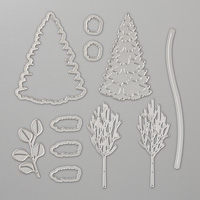
* Big Shot Die Cutting Machine
* In the Woods Framelits Dies
* White Stampin' Emboss Powder
* Heat Tool
* White Baker's Twine
* Adhesives
Instructions
(DISCLAIMER: I have not made this card, so I'm kind of winging it here, but these instructions should work.)
1. Score 8-1/2" x 5-1/2" THICK Whisper White card stock at 4-1/4"; fold away from score line to create card.
2. Use Big Shot and long curved framelits die to cut diagonal area from bottom of 4-3/4" x 3-1/2" Whisper White card stock (refer to photo above). Use Shaded Spruce ink to stamp trees (Winter Woods). Adhere to Shaded Spruce 5" x 3-3/4" card stock. Use Craft or VersaMark ink to stamp Merry Christmas on Shaded Spruce card stock in lower right corner (refer to photo for placement), and heat emboss with White Stampin' Emboss Powder. (More information on heat embossing appears below.) Wrap Baker's Twine around card stock and tie in a bow as shown. Adhere to front of card.
3. Adhere 5" x 3-3/4" Shaded Spruce card stock to inside of card. Use Shaded Spruce ink to stamp tree trunks (Winter Woods) near left side of 4-3/4" x 3-1/2" Whisper White card stock; center and stamp sentiment (Star of Light) in remaining space; adhere over Shaded Spruce card stock.
 |
| Click on image for closer look. |
For an added festive touch, Bev cut Under the Mistletoe DSP to fit, and then glued it on the flaps of her envelopes (see top photo). What a great idea to use up some of your leftovers!
Easy 5-step instructions for heat embossing:
1. Rub Embossing Buddy across paper to prevent excess embossing powder from sticking.
2. Stamp image using VersaMark or Craft (pigment) ink.
3. Cover image with embossing powder.
4. Tap off excess embossing powder.
5. Use Heat Tool to melt and set embossing powder. (NOTE: Be careful to not hold the Heat Tool in one place for too long -- the tool puts out EXTREMELY HOT air and can scorch the paper.) You'll know when you're finished because the embossing powder will become shiny and slightly raised.
I hope you enjoy this card!
Cathy ;D


I love that card!!!
ReplyDelete