Thanks to my upline Michelle
Theriault for this card idea.
 |
| Click on image for closer look. |
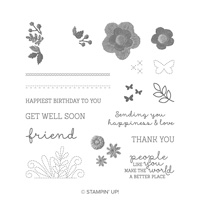
Stamp Set
* Needle and Thread (2019 Occasions Catalog)
Paper
* Gray Granite card stock (11” x 4-1/4”)
* Wood Textures 6” x 6” DSP
(5-1/2” x 4-1/4”)
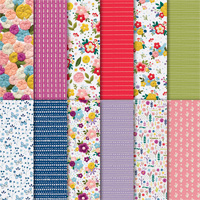
* Needlepoint Nook DSP (3-1/16”
x 2-1/2”) (2019 Occasions Catalog)
* Whisper White card stock
(scraps for label and flowers)
* Mossy Meadow card stock
(scraps for leaves)
Ink
* Mossy Meadow Classic Stampin’
Pad
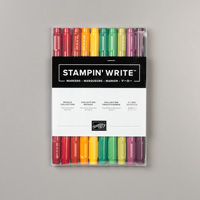
* Stampin’ Write Markers:
Blackberry Bliss, Crushed Curry, and Real Red
Accessories and Tools
* Big Shot Die Cutting Machine
* Needlepoint Elements Framelits
Dies (2019 Occasions Catalog)
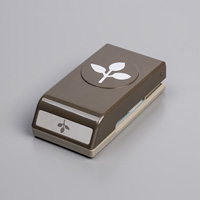
* Leaf Punch
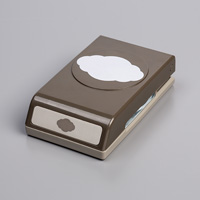
* Pretty Label Punch
* Envelope Punch Board
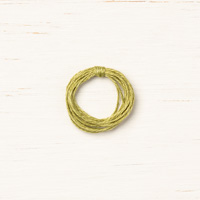
* Old Olive Linen Thread
* Faceted Dots
* Adhesives: SNAIL; Glue Dot; Mini
Stampin’ Dimensionals; Liquid Glue
NOTES:
- Score 11” x 4-1/4” card stock at 5-1/2”; fold away from score line to create card.
- Adhere Wood Textures DSP to front of card.
- Using Envelope Punch Board, line up top folded
edge of card at 1-1/2” and punch through all thicknesses. Repeat from bottom edge. Flip card over and repeat for other side of
card. You will now have four notches in your
card – two on each side. Use Stampin’
Trimmer to cut from the inside edge of the top notch to the inside edge of the
bottom notch on each side. (See photo.)

Click on image for closer look. - Adhere 3-1/6" x 2-1/2" strip of DSP to front of card as shown.
- Use Leaf Punch to cut two leaves from Mossy Meadow card stock; adhere to front of card with liquid glue.
- Stamp Sentiment on scrap of Whisper White card stock with Mossy Meadow ink. Use Big Shot and Needlepoint Elements to add stitching around sentiment; punch out with Pretty Label Punch. Adhere over leaves.
- Use Stampin’ Write Markers to color flowers; cut out with Big Shot and three-flower die. Adhere to front of card with Mini Stampin’ Dimensionals. Add self-adhesive Faceted Dots to centers of each flower.Make a small bow with Linen Thread and adhere to front of card with a rolled up Glue Dot behind the knot.
- OPTIONAL: If you want to add an inside piece of Whisper White card stock, cut it to 5-1/4” x 4” and repeat Step 3, but line up the edge of the card stock at 1-3/8” instead of 1-1/2”.

That's it! What a fun card to make!
Cathy ;D
Cathy ;D