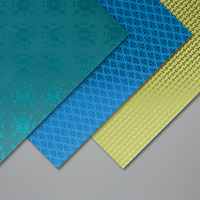
Today I'm sharing a card I designed for stamp camp yesterday at the Westminster Elks. This card features the beautiful Noble Peacock Specialty Designer Series Paper shown on pages 24-26 of the 2019-2020 Stampin' Up! Annual Catalog.
 |
| Click on photo for closer look. |
Materials
Stamp Sets
* Beautifully Braided**
* Peaceful Moments**
Paper
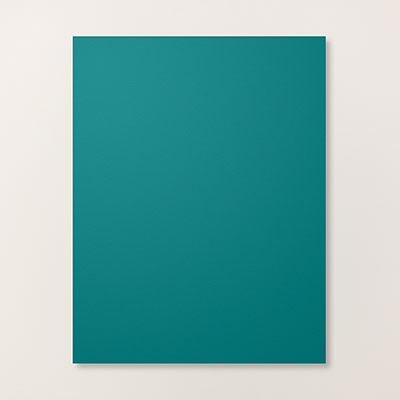
* Pretty Peacock Card Stock (8-1/2" x 5-1/2"
* Gray Granite Card Stock (5" x 3-3/4")
* Whisper White Card Stock (3-11/16" x 2-1/8"****; about 2" x 1-1/4" for label)
* Noble Peacock Specialty Designer Series Paper ("DSP") (4" x 3")
Ink
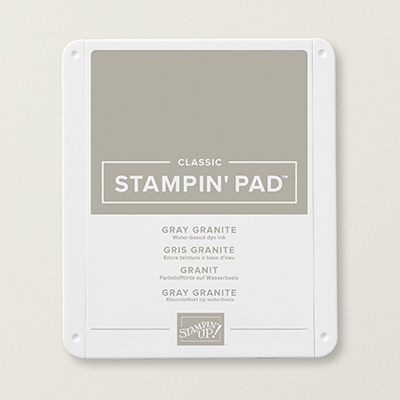
* Gray Granite Classic Stampin' Pad
* Black Stampin' Pad
Other
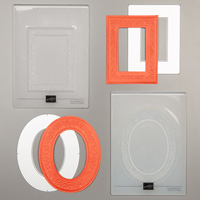
* Heirloom Frames Dies
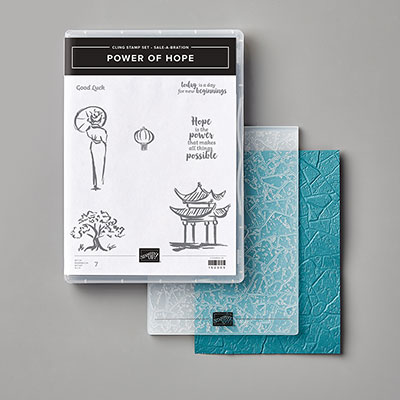
* Stone Embossing Folder***
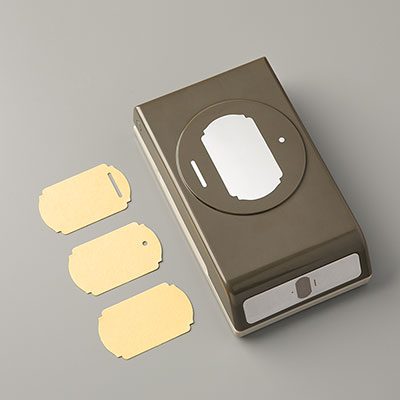
* Label Me Fancy Punch**
* Pearl Basic Jewels
* Stampin' Sponge
* SNAIL Adhesive; Stampin' Dimensionals and or Form Adhesive Strips
** January-June 2020 Mini Catalog
*** 2020 Sale-a-Bration Brochure ("Power of Hope Bundle" includes Power of Hope stamp set and Stone Embossing Folder -- available FREE with a minimum $100 catalog order)
**** You can actually cut this piece a bit smaller; the reason I used these measurements is because I was able to simply cut the 11" side of the paper in thirds (3-11/16"); and then turn those pieces sideways and cut in half (4-1/4"), and in half again (2-1/8").
Assembly
(SNAIL Adhesive used throughout unless otherwise indicated)
1. Score 8-1/2" x 5-1/2" card stock at 4-1/4". Fold away from score line to create card base.
2. Use Embossing Folder to add texture to 5" x 3-3/4" Gray Granite card stock. Use Stampin' Sponge to apply Gray Granite ink to embossed paper to bring out the beautiful stone design. Adhere to card front. (TIP: You only need to apply ink around the outer portion of card stock, since the center part will be covered by the framed image. Also, I found that rubbing in a circular motion rather than daubing the ink onto the card stock produced better results.)
3. Use Black ink to stamp flower image (Beautifully Braided) on 3-11/16" x 2-1/8" Whisper White card stock. Use Gray Granite ink to stamp solid flower image over detailed image. Center and adhere over Gray Granite card stock.
4. Use Heirloom Frames rectangular shaped die to cut frame from DSP. Center and adhere to card over stamped flowers with Stampin' Dimensionals or Foam Tape.
5. Use Black ink to stamp Thank You (Peaceful Moments) on scrap of Whisper White card stock. Punch out with Fancy Label Punch. Use Sponge to apply Gray Granite ink lightly around the edges of the label, and adhere to frame. (NOTE: I used SNAIL Adhesive around the right and lower edges of the label since they were being attached to the frame, and then added a Stampin' Dimensional behind "Thank" so it wouldn't "cave in.")
6. Add self-adhesive 3mm Pearls to the berries on the stamped flowers image.
For Stamp Camp I prepared kits using all three of the colors in the package of DSP and let the stampers choose which color they wanted for the card. The other two colors shown are Blueberry Bushel and Old Olive.
 |
| Click on photo for closer look. |
Don't forget the inside!
For the inside I cut a 5-1/4" x 4" piece of Whisper White card stock and stamped the flowers and sentiment (both from Beautifully Braided) in Black ink, and then used Gray Granite ink to stamp the solid color over the flowers.
 |
| Click on photo for closer look. |
I hope you enjoy this card. It's fairly easy to make and can be easily adapted for any purpose by selecting different sentiments. Leave off the pearls and it would even make a pretty good guy card!
Cathy ;D