This card uses a stamp set that was first introduced in the 2018-2019 Holiday Catalog, and was then carried over into the 2019-2020 Annual Catalog, so it's still available for purchase. I thought it was exactly the right stamp set for this card -- of course, you also could use any other stamp set you have in your stash to get a similar effect.
 |
| Click on image for closer look. |
Materials
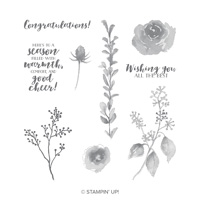
Stamp Set
* First Frost
Paper
* Basic Black card stock (8-1/2" x 5-1/2")
* Smoky Slate card stock (5-3/16" x 3-15/16"; 4-3/4" x 1-5/8"; about 2-1/2" x 1-1/2" for label punch)
* Basic Gray card stock (5" x 3-3/4")
* Whisper White card stock (1-3/8" x 1-3/8" - 3; about 2" x 1-3/8" for oval punch)
Ink
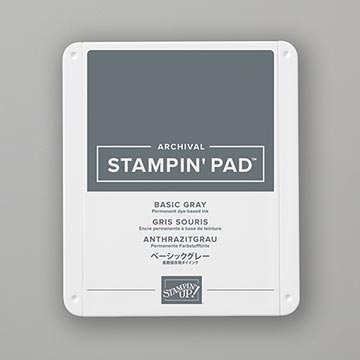
* Basic Gray Stampin' Pad
Other Stuff
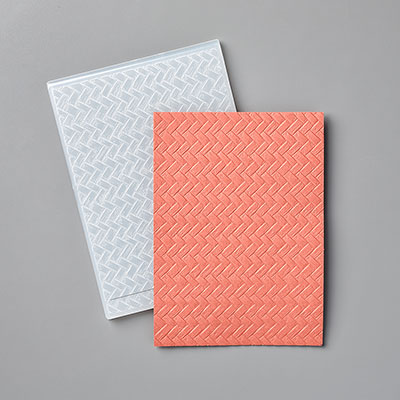
* Coastal Weave 3D Embossing Folder (January-June 2020 Mini Catalog)
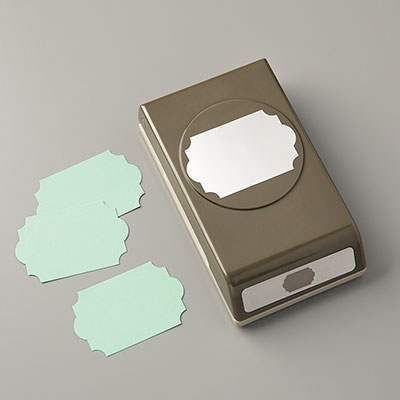
* Everyday Label Punch
* Wide Oval Punch (retired)
* Metallic Pearls (Silver)
* Adhesives: SNAIL Adhesive, Stampin' Dimensionals)
Assembly
(Note: Unless otherwise indicated, SNAIL Adhesive used throughout)
1. Score 8-1/2" x 5-1/2" card stock at 4-1/4"; fold away from score line to create card base.
2. Center and adhere Smoky Slate 5-3/16" x 3-15/16" card stock to front of card.
3. Use embossing folder to add texture to Basic Gray card stock; center and adhere over Smoky Slate card stock.
4. Adhere 4-3/4" x 1-5/8" Smoky Slate card stock vertically about 1/4" from left edge of Basic Gray card stock.
5. Stamp images of your choice on each of the three 1-3/8" x 1-3/8" squares; adhere to Smoky Slate 4-3/4" x 1-5/8" card stock. (TIP: Lay out your pieces before adhering them to make sure you center them properly. I find that if I adhere the top and bottom pieces first, it's easier to space the center piece evenly between them.)
6. Punch Everyday Label from Smoky Slate card stock; set aside.
7. Stamp sentiment and punch out with Wide Oval; adhere to Everyday Label. Use Stampin' Dimensionals to adhere label to front of card as shown.
8. Don't forget the bling! These silver Metallic Pearls add just the right touch of elegance without being "in your face" blingy.
Inside
The sentiment I chose for the front of this card is fairly generic, so for the inside I simply stamped one of the images from the front of the card to tie it together. This way I can either stamp an appropriate sentiment or add a hand-written note when I'm ready to use the card.
 |
| Click on image for closer look. |
I hope you enjoyed this simple and elegant card.
Cathy ;D