|
| Click on image for closer look. |
Materials
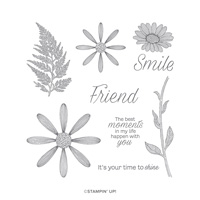
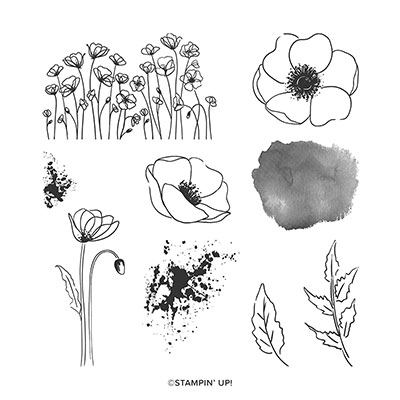
Stamp Set
* Daisy Lane
Paper
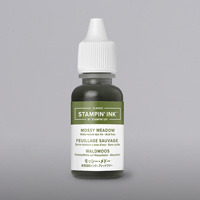
* Mossy Meadow card stock (8-1/2" x 5-1/2"; @ 4" x 3")
* Daffodil Delight card stock (5" x 3-3/4")
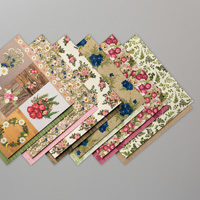
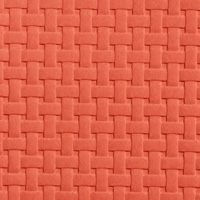
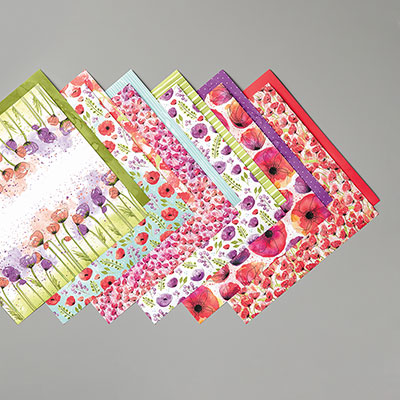
* Whisper White card stock (scrap for punch)* Pressed Petals Specialty Designer Series Paper ("DSP") (burlap design: 4-7/8" x 3-5/8"; flower design: 3" x 2")
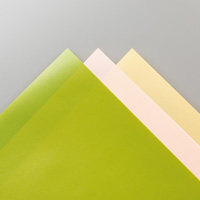
* Perennial Essence Vellum card stock (scrap of So Saffron for butterflies)
Ink
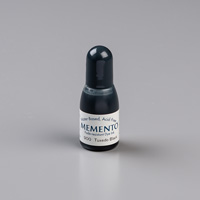
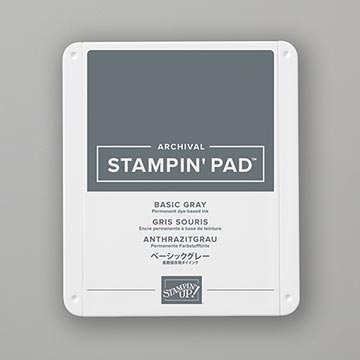
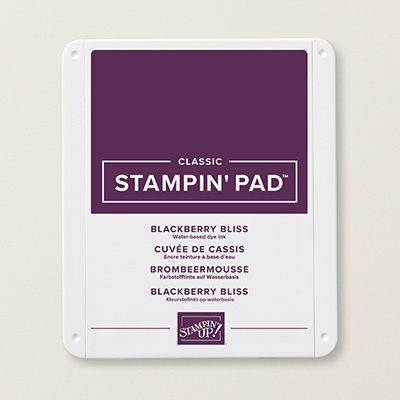
* Black or Basic Gray Stampin' Pad
Other Stuff
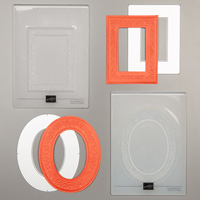
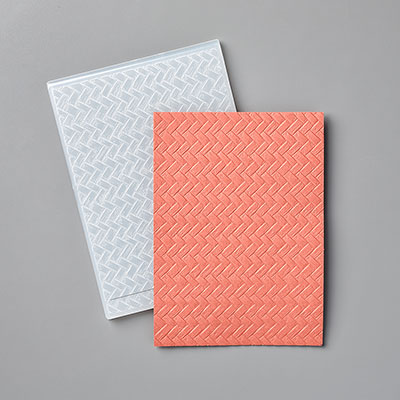
* Heirloom Frames Dies and 3D Embossing Folders
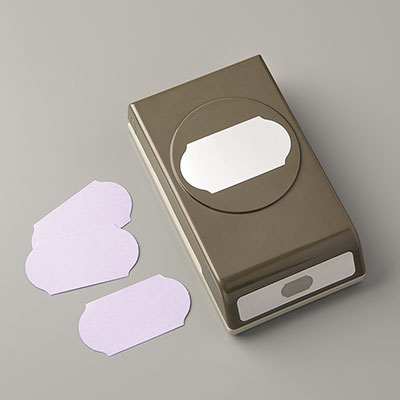
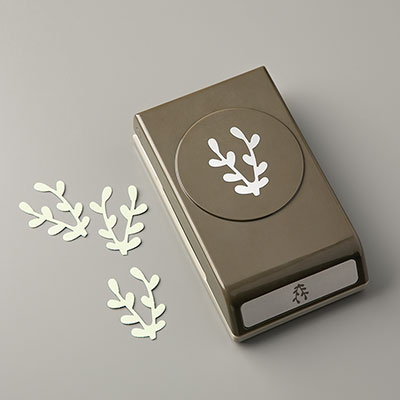
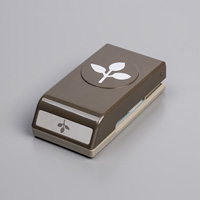
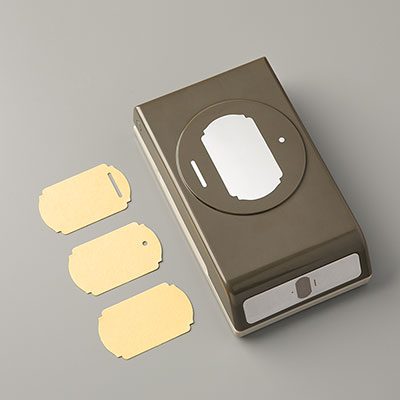
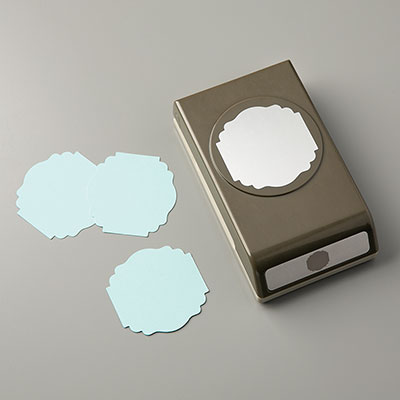
* Timeless Label punch
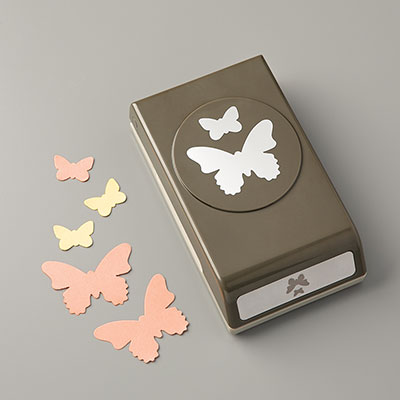
* Butterfly Duet punch
* Pearl Basic Jewels
* Adhesives: SNAIL Adhesive, Stampin' Dimensionals or Foam Adhesive Strips; Tombow Liquid Glue; Glue Dots (optional)
Assembly
(Unless otherwise indicated, SNAIL Adhesive used to assemble card.)
1. Score 8-1/2" x 5-1/2" card stock at 4-1/4"; fold away from score line to create card base.
2. Center and adhere Daffodil Delight card stock to card front.
3. Center and adhere burlap DSP over Daffodil Delight card stock.
4. Use rectangular die to cut frame; add texture to frame with coordinating embossing folder. Use liquid glue to adhere flowered DSP to back of frame, covering the opening. Adhere the framed piece to card front with Stampin' Dimensionals or Foam Adhesive Strips.
5. Stamp sentiment on scrap of Whisper White card stock and punch out with Timeless Label punch. Adhere to lower corner of frame with SNAIL Adhesive or Liquid Glue. (NOTE: Add adhesive only to the back of the right side and bottom of the label to adhere to frame. Also, since the embossed frame is so thick, I added a Stampin' Dimensional behind the upper left-hand corner of the label to pop it up a little from the flowers.)
6. Punch two small butterflies from vellum card stock and adhere to card as shown with a Glue Dot or thin line of Liquid Glue in the center of each butterfly. Add self-adhesive Pearls to butterflies.
What a nice way to let your friends know you're thinking about them!
Cathy ;D