What a wild, crazy month this has been! I started out the month with a virus that kept me down for two weeks! By the time I was well, everything had started closing due to the Coronavirus threat. As a result, a total of eight of my scheduled classes and stamp camps, as well as my friend Susan Dorland's annual Stamp-a-Scrap Expo, have been canceled!!! Needless to say, this has had a pretty significant negative impact on my pocketbook!
Weatherwise, it's also a little crazy around here! My husband and I brought out our lawn chairs and enjoyed a beautiful, sunny Wednesday afternoon sitting on our front porch before the first day of spring brought a wet, heavy snowstorm yesterday. In less than 24 hours, the temperatures plummeted into the 20s and covered our yard in almost 5" of snow! It's still very cold and gloomy out there today. (Gotta love Springtime in the Rockies . . . .)
But enough of this negativity! This cloud has a silver lining -- all the downtime when I was sick allowed me to catch up on some crochet projects (when I wasn't sleeping); and with all of the canceled events, I've been able to reclaim some time to catch up on paperwork and do some much-needed cleaning and organizing in my craft room. Depending on how long this continues, I may even get far enough ahead on future class projects that I'll be able to get some crafting done for my fall and winter craft sales as well! Woo hoo!
Also hoping to bring you some new card designs and helpful tips on my blog. Today I'm bringing you a card we made in my last Women's Connection class which features some items from the Stampin' Up! 2020 January-June catalog.
 |
| Click on photo for closer look. |
Materials
Stamp Sets
* Beauty Abounds (sentiment)
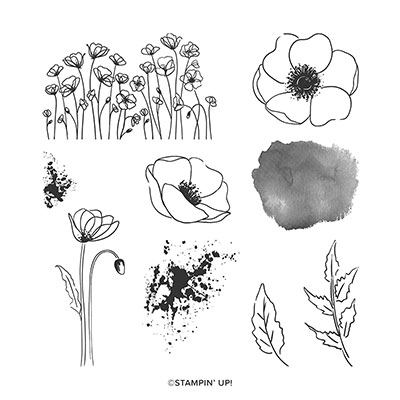
* Painted Poppies (flower)*
Paper
* Mossy Meadow card stock (8-1/2" x 5-1/2"; 5" x 3-3/4")
* Blackberry Bliss card stock (5-1/4" x 4"; 2-1/5" for circle)
* Whisper White card stock (@ 2-1/4" x 2-1/4" for label)
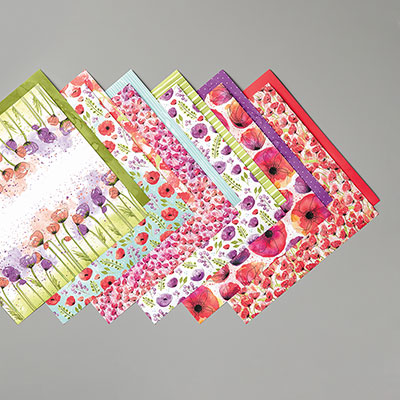
* Peaceful Poppies Designer Series Paper ("DSP") (5" x 3-3/4", cut in half diagonally)*
Ink
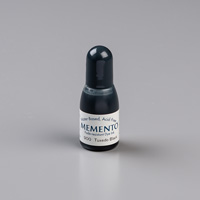
* Black Ink Pad
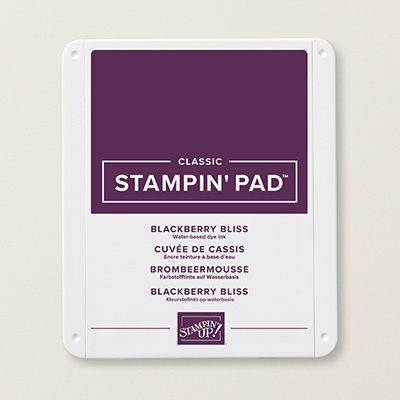
* Blackberry Bliss Classic Stampin' Pad or Refill Ink
* Mossy Meadow Classic Stampin' Pad or Refill Ink
All the Other Stuff
* 5/8" Polka Dot Tulle Ribbon (@ 8"-10")
* 2-1/2" Circle Punch (retired)
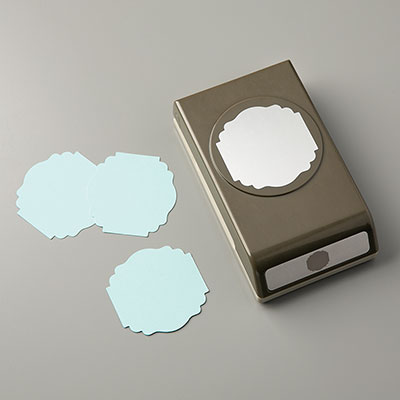
* Label Me Lovely Punch*
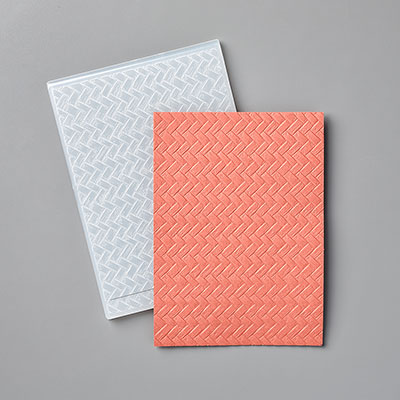
* Coastal Weave 3D Embossing Folder*
* Blender Pen
* Adhesives: Mini Glue Dot; SNAIL Adhesive; Stampin' Dimensionals
* 2020 January-June Catalog
Assembly
(Unless otherwise indicated, SNAIL Adhesive used to assemble card)
1. Score 8-1/2" x 5-1/2" card stock at 4-1/4"; fold away from score line to create card base.
2. Adhere 5-1/4" x 4" Blackberry Bliss card stock to card front.
3. Use embossing folder to add texture to 5" x 3-3/4" Mossy Meadow card stock; adhere over Blackberry Bliss card stock.
4. Cut 5" x 3-3/4" DSP in half diagonally from corner to corner; adhere over Mossy Meadow card stock.
5. Punch label from White card stock. Use black ink to stamp poppy image and sentiment. Use Blender Pen to add color to flower. (NOTE: Squeeze top and bottom of Stampin' Pad together to apply ink to inside of lid; pick up small amounts of ink with Blender Pen to paint image; pick up additional ink as needed. Or apply one drop of ink to an acrylic block and pick up the ink from there. Since this is such a small image and one drop of ink goes a LONG way, for this project it's probably more practical to use the first method.)
6. Punch circle from Blackberry Bliss card stock; adhere label to circle. Adhere circle to card with Stampin' Dimensionals.
7. Make bow and adhere to label as shown with one Mini Glue Dot behind knot.
That's it! A cheerful hello to chase the blues away . . . .
Cathy ;D


No comments:
Post a Comment