 |
| Click on image for closer look. |
I'd like to give credit to the person who posted a card that inspired this one, but I can't remember who it was . . . so thanks, whoever you are!!!!
Materials
Stamp Sets
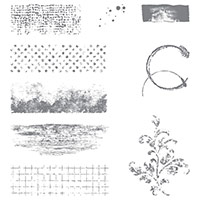
* Sheet Music Background Stamp
* Tags and Trimmings Stamp Set (retired)
* Timeless Textures Stamp Set
Paper
* Crumb Cake card stock (8-1/2" x 5-1/2"; 4" x 2" for tag)
* Whisper White card stock (5-1/4" x 4"; about 3" x 2" for tree die)
* In Color 6" x 6" Designer Series Paper ("DSP") (Lovely Lipstick stripes: 1-1/2" x 1"; Call Me Clover polka dots: 2" x 3/4" for bottom of tag)
* Silver Foil Sheets (about 2-1/2" x 1-1/2" for snowflakes)
Ink
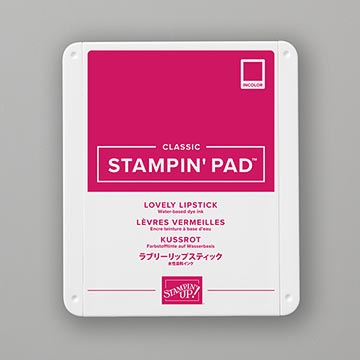
* Lovely Lipstick Classic Stampin' Pad
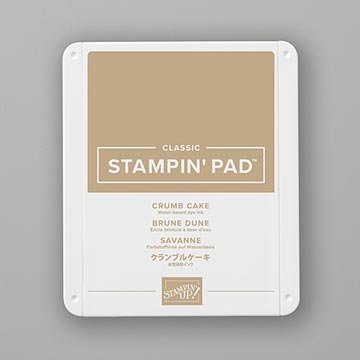
* Crumb Cake Classic Stampin' Pad
Accessories and Tools
* Big Shot Die Cutting Machine
* Softly Falling Embossing Folder
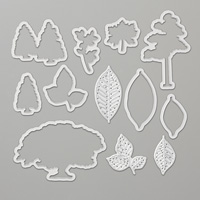
* Nature's Roots Framelits Dies (tree)
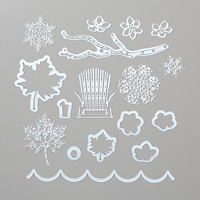
* Seasonal Layers Thinlits Dies (snowflakes)
* Scalloped Tag Topper Punch
* Triple Banner Punch
* 5/8" White Polka Dot Tulle Ribbon (about 3")
* Festive Farmhouse Cotton Twine (Cherry Cobbler: about 5")
* Clear Rhinestone Basic Jewels
* Stampin' Sponge
* Adhesives: SNAIL Adhesive; Stampin' Dimensionals; Multipurpose Liquid Glue
Instructions
(SNAIL Adhesive used to assemble card unless otherwise indicated.)
1. Score 8-1/2" x 5-1/2" card stock at 4-1/4"; fold away from score line to create card.
2. Stamp sentiment near bottom right edge of 5-1/4" x 4" Whisper White card stock. Use Big Shot and Embossing Folder to add texture to card stock; sponge Crumb Cake ink around edges; adhere to front of card.
3. Punch one end of 4" x 2" Crumb Cake card stock with Scalloped Tag Topper Punch; use Crumb Cake ink to stamp polka dot image (Timeless Textures) along left edge of tag; adhere Color Me Clover 2" x 3/4" DSP along bottom of tag; sponge Crumb Cake ink around edge of tag.
4. Punch one end of Lovely Lipstick DSP with Triple Banner Punch; sponge Crumb Cake ink around edges; adhere to back of tag as shown.
5. Thread Tulle ribbon through opening at top of tag and secure with a bow made from Cherry Cobbler Cotton Twine. Use Stampin' Dimensionals to adhere tag to front of card.
4. Use Crumb Cake ink to stamp Music Sheet image on Whisper White card stock; use Big Shot and Nature's Roots dies to cut tree from stamped paper; sponge Crumb Cake ink around edges of tree; adhere to front of tag with Stampin' Dimensionals.
5. Use Big Shot and Seasonal Layers dies to cut snowflakes from Silver Foil. Adhere large snowflake to tag with a small piece of Stampin' Dimensionals behind center of snowflake, and a couple of tiny dots of Liquid Glue behind the points attached to tree (see photo for placement). Use Liquid Glue to adhere small snowflake to Whisper White card stock. Place self-adhesive Rhinestones in centers of each snowflake.
Whoopee!!! You've just finished your cute tag card! Celebrate!!!
Cathy ;D


No comments:
Post a Comment