 |
| Click on image for closer look |
Materials
Paper
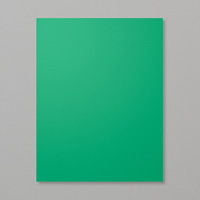
* In Color 6" x 6" Designer Series Paper ("DSP") (2018-2020 - Call Me Clover; 5" x 5")
* Real Red card stock (about 2-3/4" x 2" for cup)
* Crumb Cake card stock (about 2" x 1-1/2" for sleeve)
* Whisper White card stock (about 2" x 1-2" for lid)
* Call Me Clover card stock (1" x 1" for holly leaves)
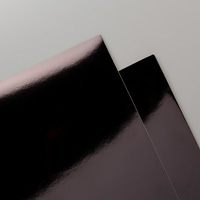
* Black Foil Paper (1-5/8" x 3/8"; 5/16" x 3/8" for belt and center of buckle)
* Gold Glimmer Paper (5/8" x 1/2" for belt buckle)
Ink
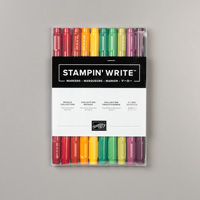
* Shaded Spruce Stampin' Write Marker
Accessories and Tools
* Envelope Punch Board
* Big Shot Die Cutting Machine
* Coffee Cup Framelits Dies
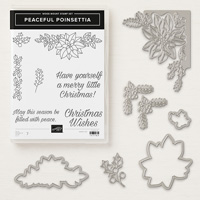
* Detailed Poinsettia Thinlits Dies
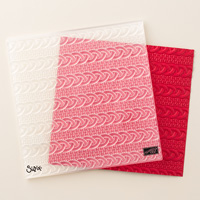
* Cable Knit Dynamic Textured Impressions Embossing Folder
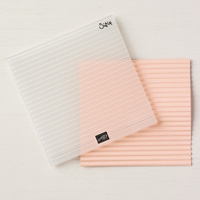
* Corrugated Dynamic Textured Impressions Embossing Folder
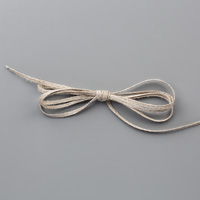
* 3/16" Braided Linen Trim (about 10"-12")
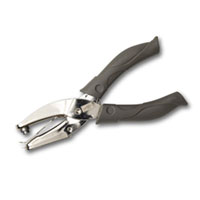
* 1/8" Handheld Circle Punch
* Adhesives: Multipurpose Liquid Glue; Stampin' Dimensionals
Retired Item
* Red Glimmer Paper (scrap for holly berries)
* 1/4" Handheld Circle Punch
Instructions
(Use Liquid Glue for assembly unless otherwise indicated)
1. Following instructions on Envelope Punch Board, make a 3-1/2" x 2" Gift Card holder from 5" x 5" Call Me Clover DSP. (IMPORTANT NOTE: Fold down and glue one short end flap to inside before gluing remaining flaps to create opening for gift card.)
 |
| Top flap folded down and glued to inside. |
2. Use Big Shot and Coffee Cup dies to cut cup from Real Red card stock; cut lid from Whisper White card stock, and cut sleeve from Crumb Cake card stock. Use Cable Knit embossing folder to add texture to coffee cup; use Corrugated embossing folder to add texture to sleeve. Assemble coffee cup.
3. Use scissors or paper cutter to cut 1-5/8" x 3/8" strip of Black Foil paper; adhere over sleeve as shown; trim edges to fit the curve of the cup.
4. Cut a 5/8" x 1/2" piece of Gold Glimmer Paper and adhere at center of belt as shown; cut 5/16" x 3/8" piece of Black Foil paper and adhere in center of Gold Glimmer Paper to create belt buckle. Adhere to front of envelope with Stampin' Dimensionals.
5. Use Detail Poinsettia die to cut holly and berry shape from Call Me Clover card stock. Draw lines for veins with Shaded Spruce marker. Adhere to lid as shown. (NOTE: If you have the coordinating Peaceful Poinsettia stamp set, you can stamp image with Shaded Spruce Ink before cutting instead of using the marker.)
6. Punch small circles from Red Glimmer Paper; adhere two over the holly leaves with liquid glue; use a small Stampin' Dimensional for the third berry. (I used the retired Stampin' Up! 1/4" Handheld punch to make my berries; there are also several sizes of small circles on the retired Owl Builder and Cupcake Builder Punches.)
*** NOTE: When I made this gift card holder I wasn't paying attention and didn't realize that the Red Glimmer Paper had been retired; if you have none in your stash, you can use Real Red card stock and paint the berries with a Clear Wink of Stella Glitter Brush to achieve a similar effect. ***
7. Use the 1/8" Handheld Circle Punch to create a small hole in the front of the envelope near upper left-side corner. Thread Linen Trim through for hanging loop and you're ready to add a gift card and hang this little guy on the tree or a gift package! (I plan to give this one to my stepdaughter next week with her traditional Starbucks gift card.)
Hope you enjoyed this project . . . we're getting close to the end -- only 6 more projects to go!!!
Cathy ;D


No comments:
Post a Comment