 |
| Click on photo for closer look. |
Materials
(NOTE: This card is made with current and retired Stampin' Up! materials.)
Stamp
* Peaceful Poinsettia (retired)
Paper
* Real Red card stock (8-1/2" x 5-1/2")
* Garden Green card stock (5" x 3-3/4"; about 3-1/2" x 2-1/2" for scalloped oval)
* Gold Foil (4-3/4" x 3-1/2")
* Whisper White card stock (about 4" x 2" for poinsettia; about 3-1/4" x 2-1/4" for oval)
Ink
* Garden Green Classic Stampin' Pad
* Garden Green Stampin' Write Marker
* Real Red Stampin' Write Marker
* Black Ink Pad
Other
* Detailed Poinsettia Dies (retired)
* Layering Ovals Dies
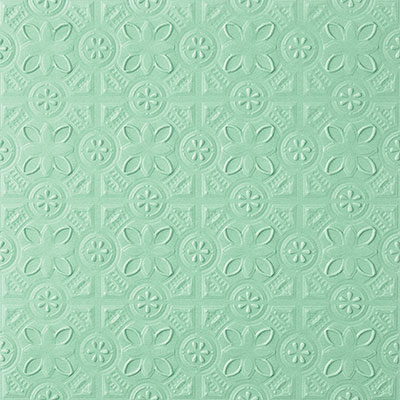
* Tin Tile Embossing Folder
* Clear Embossing Powder
* Heat Tool
* Round Holographic Stickers from my stash
* Adhesives: SNAIL Adhesive, Stampin' Dimensionals
Instructions
(NOTE: SNAIL Adhesive used to assemble this card unless otherwise indicated.)
1. Score 8-1/2" x 5-1/2" card stock at 4-1/4"; fold away from score line to create card base.
2. Adhere 5" x 3-3/4" Garden Green card stock to card front.
3. Use embossing folder to add texture to gold foil; adhere to Garden Green card stock.
4. Cut scalloped oval from Garden Green card stock; cut oval from Whisper White card stock. Stamp sentiment near bottom of white oval and adhere to green scalloped oval.
5. Stamp poinsettia image with black ink; quickly sprinkle clear embossing powder over image (while ink is still wet) and heat with heat tool until image is dark black and shiny. Color image with markers and adhere to oval above sentiment.
6. Use Stampin' Dimensionals to adhere oval with poinsettias to front of card.
7. Add bling to center of poinsettia. (NOTE: I used tiny round holographic stickers, but you also could use tiny rhinestones or pearls.)
That's it! Your card is finished!
Cathy ;D


No comments:
Post a Comment