 |
| Click on image for a closer look. |
Materials
(NOTE: All materials used are Stampin' Up!, but some are retired items.)
Stamps
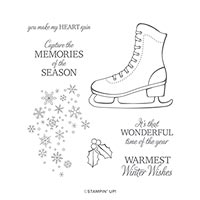
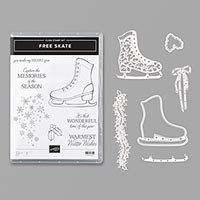
* Free Skate (2019 Holiday Catalog)
* Peaceful Poinsettia (retired, see note below)
Paper
* Pool Party card stock (8-1/2" x 5-1/2"; 5-1/8" x 3-7/8")
* Whisper White card stock (5-1/4" x 4"; 4" x 2-3/4"; scraps for holly)
* Silver Foil (4-1/8" x 2-7/8"; about 3" x 3" for skate)
Ink
* Basic Gray Stampin' Pad
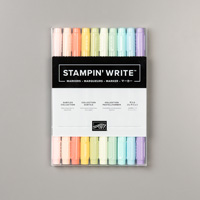
* Pool Party Stampin' Write Marker
* Flirty Flamingo Stampin' Write Marker
Other
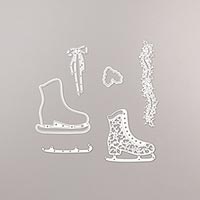
* Detailed Skate Dies (2019 Holiday Catalog)
* Detailed Poinsettia Dies (retired, see note below)
* Eyelet Lace Embossing Folder
* Silver Organdy Ribbon (retired)
* Ice Stampin' Glitter (2019 Holiday Catalog)
* Adhesives: SNAIL Adhesive; Stampin' Dimensionals; Glue Dots; Liquid Glue
Instructions
(NOTE: SNAIL Adhesive used to assemble card unless otherwise indicated)
1. Score 8-1/2" x 5-1/2" card stock at 4-1/4"; fold away from score line to create card base.
2. Adhere 5-1/4" x 4" white card stock to card front.
3. Use embossing folder to add texture to 5-1/8" x 3-7/8" Pool Party card stock. Adhere over white card stock.
4. Apply tiny dots of liquid glue randomly around outer edges of embossed card stock. Sprinkle glitter over card stock and tap off excess. Set aside to dry while completing steps 5 thru 8.
5. Adhere 4" x 2-3/4" white card stock to 4-1/8" x 2-7/8" silver foil.
6. Cut detailed skate from 3" x 3" silver foil. Adhere to white card stock with liquid glue.
7. Use Basic Gray ink to stamp holly images on scraps of white card stock; color images with Stampin' Write Markers. Cut out images with holly die and adhere to top edges of skate with liquid glue.
(NOTE: The holly image appears in both the Free Skate and Peaceful Poinsettia stamp sets; however, the one in the Skate set has only two leaves, while the one in the Poinsettia set has three leaves. The original design by Julie Gilson used the image from Free Skate, and she used two sets of leaves on each side of skate (four die cuts). Because I was cutting a bunch of these for the stamp camp, I opted to use the one with three leaves (shown above) to save prep time.)
8. Tie bow with silver ribbon (or whatever other ribbon you have on hand) and attach to top of skate with glue dot behind knot.
9. Adhere the assembled skate piece to front of card with Stampin' Dimensionals.
That's it! I hope you enjoy this card.
Cathy ;D


No comments:
Post a Comment