Wednesday, June 17, 2020

Stamp Camp North Cards (6/2020)

A few days ago I posted instructions for my Stamp Camp North "Temporary" Camp card.  Below are photos of all the cards from that "not-a-camp" event.

Click on the photos for closer look.


Hope you get some great ideas from these card designs!

Cathy  ;D

Saturday, June 13, 2020

Happy Summer! (June 2020 Stamp Camp North)

We're still not hosting stamp camps, but for June we sold finished cards for Stamp Camp North.  This was my design, featuring two of the new punches and two of the new 2020-2022 In Colors.

Click on image for closer look.

Materials

Paper:
* Misty Moonlight card stock (8-12” x 5-12”)
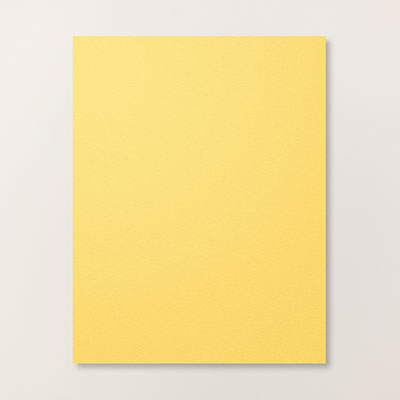
* Bumblebee card stock (5-3/16” x 3-15/16”)
* Whisper White card stock (4-7/8” x 3-5/8”; 5-1/4” x 4” inside)
* Sahara Sand card stock (4-3/4” x 3-1/2”; 4” x 3/4” inside)
* Scraps of the following for flowers and die cuts:
     Crushed Curry, Daffodil Delight, So Saffron, Early Espresso
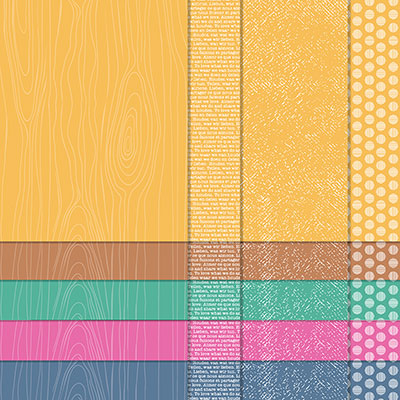
* 2020-2022 In Color 6” x 6” Designer Series Paper ("DSP") (2-1/4” x 1-3/8” for jar punch)
* Scrap card stock (2-1/4” x 1-3/8” for jar backing)

Other:
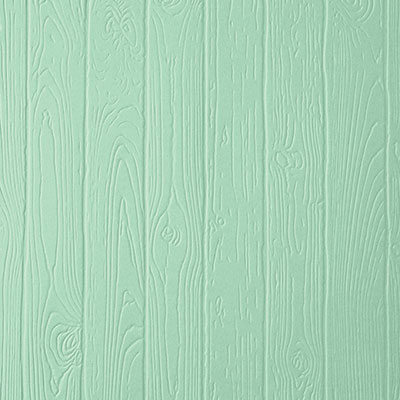
* Pinewood Planks embossing folder
* Jar Punch
* Field of Flowers Punch
* Pearl Basic Jewels (tiny ones are retired)
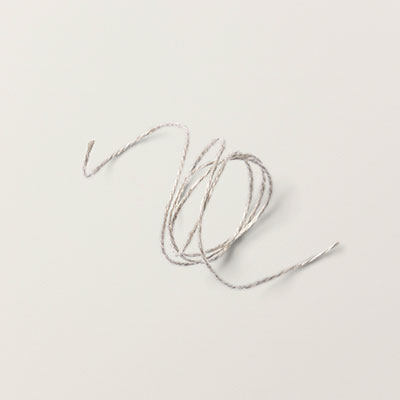
* White Baker’s Twine (retired)
* Linen Thread
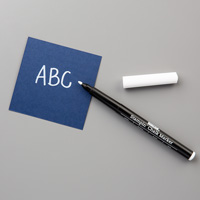
* White Marker
* SNAIL Adhesive; Stampin’ Dimensionals (for jar); Glue Dot (for bow); Liquid Glue (branches, flowers and sentiment)

NOTE: Sentiment is a design from my Brother Scan ‘n Cut; the branches were hand drawn, scanned and cut on Brother Scan ‘n Cut.

Assembly:
SNAIL Adhesive* used throughout unless otherwise noted.

1. Score 8-1/2" x 5-1/2" card stock at 4-1/4"; fold away from score line to create card base.

2. Adhere 5-3/16" x 3-15/16" Bumblebee card stock to front of card.

3. Adhere 4-7/8" x 3-5/8" Whisper White card stock over Bumblebee card stock.

4. Use embossing folder to add texture to add texture to 4-3/4" x 3-1/2" Sahara Sand card stock; adhere over Whisper White card stock.

5. Cut, stamp, or draw tree design* as shown on card.  (As noted above, I printed a design I liked online, and then traced it and scanned it into my Scan 'n Cut to cut the branch; but in place of this, I think the beautiful branch from the Very Versaille stamp set would look great, or the branch from the retired Thoughts and Prayers set.  I would stamp it with Early Espresso ink.) 

6. Punch two jar shapes -- one from 6" x 6" 2020-2022 In Color DSP, and one from scrap card stock.  Adhere the two pieces together and then use Stampin' Dimensionals to adhere to card covering base of branch.

7. Use Field of Flowers punch to punch several flowers -- I cut mine from Crushed Curry, Daffodil Delight, and So Saffron card stock.  Use Liquid Glue or Glue Dots to adhere flowers to branch.

8. Attach self-adhesive pearls to centers of medium and large size flowers.  Add a dot of white to centers of small flowers -- I used a retired White Gel Pen for my dots, but you also could use the White Chalk Marker and maybe even add a touch of Wink of Stella.

9. For my sentiment, I cut “Summer” just after first bar of first “m” (refer to photo) and used liquid glue to adhere to the jar as shown, and then adhered the remainder of the word to the Sahara Sand embossed card stock.  This was an image from my Scan 'n Cut, but Stampin' Up! has lots of word dies you could substitute for this image.  (See page 183 of the 2020-2021 Annual Catalog.)  Alternatively, you could stamp a word on white card stock and add a tag for the sentiment.

10. Use Linen Thread and White Baker's Twine to make a bow with loops wide enough to cover the width of the jar (about 1-1/2" wide).  Adhere bow to jar with a glue dot behind the knot.  (NOTE:  Stampin' Up!'s White Baker's Twine is no longer available, but if you don't have any in your stash, you also could use craft embroidery thread, or any white string you have around the house.)

Don't forget the inside!

Click on image for closer look.

11. Adhere 5-1/4” x 4” white card stock to inside of card.
12. Adhere use embossing folder to add texture to 4” x 3/4" Sahara Sand card stock; adhere across bottom of white card stock.
13. Use Liquid Glue or Glue Dots to adhere flowers as shown.  Add white dots to center of each flower.  (See Step 8 above.)

That's it!  A wonderful card to welcome summer!

Cathy :D

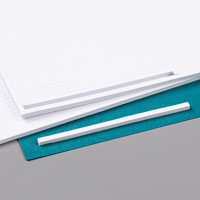
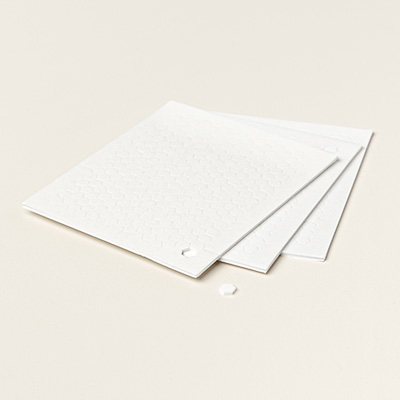
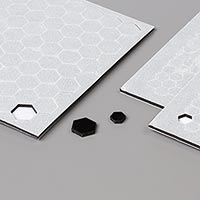
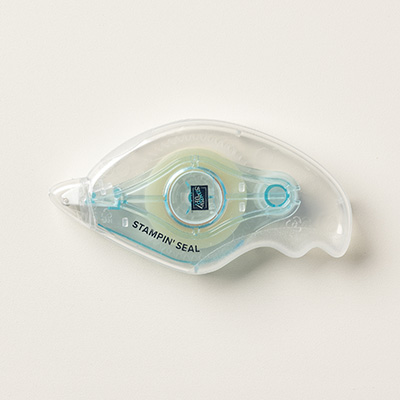
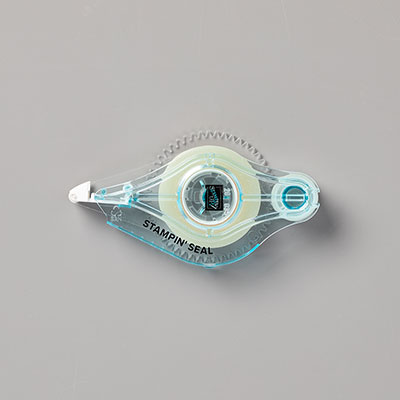
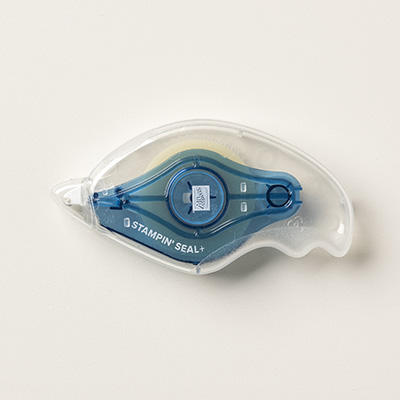
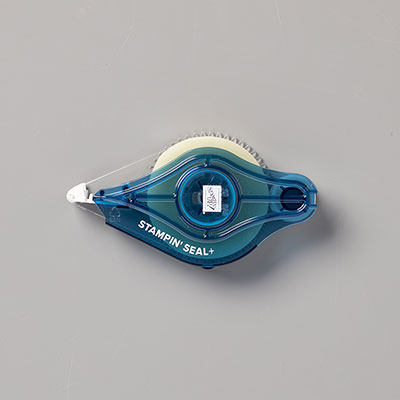
* NOTE re SNAIL Adhesive:  I am continuing to use SNAIL Adhesive until I've depleted my stash; however, Stampin' Up! is no longer selling this product.  Listed below is ordering information about the new Stampin' Seal and Stampin' Seal+ adhesives which have replaced SNAIL Adhesive in the new 2020-2021 Annual Catalog. 

Saturday, June 6, 2020

May 2020 Rose Hill Card Kits To Go

Since we can't do live and in-person stamp camps, beginning in May and probably continuing through at least the end of the summer Rose Hill Stamp Camp is offering Card Kits To Go.  These kits include pretty much everything you need to make 10 cards -- all you need are a few basic card making supplies, including scissors and adhesives.  Below are the cards featured in the May 2020 Card Kits To Go package.  Click on images for closer look.
Click HERE to visit my Upcoming Events page for information about the upcoming June 2020 Card Kits To Go.


Cathy ;D

Friday, June 5, 2020

Hello Card (Rose Hill Card Kits To Go, May 2020)

Today I'm sharing with you the card I made for the Rose Hill Demos' May Card Kits To Go.  Note there is no stamping on this card -- everything was done with punches and die cuts.

Click on photo for closer look

Materials

Paper
* Daffodil Delight card stock (8-1/2" x 5-1/2" scored at 4-1/4"; 4-1/4" x 1/2"; scraps for flowers)
* Mossy Meadow card stock (5-1/8" x 3-7/8"; 5-1/8" x 3/4"; scraps for hello die and sprig punch)
* Whisper White card stock (5" x 3-3/4"; scrap for flower punch)
* Old Olive card stock (scraps for leaf punch)
* Pressed Petals Specialty Designer Series Paper ("DSP")**

Accessories and Tools
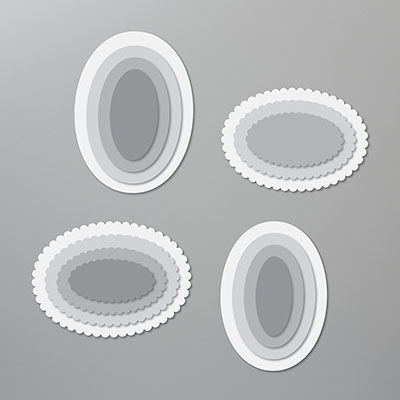
* Layering Ovals Dies
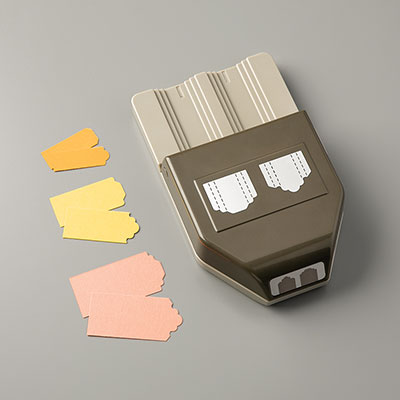
* Lovely Labels Pick a Punch
* Hello You Thinlits Dies**
* Tasteful Textile 3D Embossing Folder
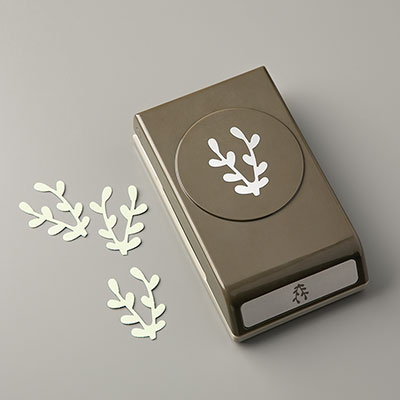
* Sprig Punch
* Leaf Punch**
* Pansy Punch**
* Three For You Punch**
* Petite Petals Punch***
* Clear Rhinestone Jewels
* Adhesives: SNAIL Adhesive****; Stampin' Dimensionals; Liquid Glue

** Retired Stampin' Up! items
*** This punch is retired, but Stampin' Up! currently offers the Small Bloom punch which is very similar.
**** Stampin' Up! is no longer selling SNAIL Adhesive, but has replaced it with two new adhesives Stampin' Seal and Stampin' Seal+ (provides a stronger seal for use with heavier layers).  I have not yet tried the new adhesives, but they are now available for purchase (see links below).

NOTE:  My apologies for the number of items used on this card which are retired.  This time of the year it's difficult to make cards using all current materials -- the 2019-2020 catalog expired this past Tuesday.  The new catalog went live on Wednesday, June 3, but new items have not yet been received.

Assembly  I'm trying something new with this post -- rather than all written instructions, I've assembled a pictorial tutorial.  Please click on any of the images below for a closer look.


Please drop me a comment to let me know how you like this format.  I may not use it all the time, but it was fun trying it for this card.

Cathy  ;D

Friday, May 15, 2020

Always Thinking of You (Stamp Camp North 5/2020)

Happy Friday Morning!  Still at home with no classes on the horizon.  But this month Stamp Camp North offered finished cards to stampers in lieu of stamp camp . . . so this is the card I made.

Click on image for closer look.

Materials

Stamp Sets:
* Beautiful Day (sentiment)
* Very Versailles (leaves)
Paper:
* Basic Gray card stock (8-1/2” x 5-1/2”)
* Smoky Slate card stock (5-3/16” x 3-15/16 – 2 pcs)
* Whisper White card stock (5” x 3-3/4 – 2 pcs; 2-7/8” x 7/8”)
Classic Stampin’ Pads:
* Basic Gray
* Gray Granite
* Smoky Slate
* Sahara Sand
Other Stuff:
* “B” Clear Stamping Block (1-15/16" x 1-5/8") 
* Stampin’ Sponge
* Stitched Rectangles Dies
* Coastal Weave Embossing Folder
* SNAIL Adhesive
* Stampin’ Dimensionals or Foam Adhesive Strips

Assembly
(NOTE:  SNAIL Adhesive was used for assembly unless otherwise indicated.)

1. Score 8-1/2" x 5-1/2" Basic Gray card stock at 4-1/4"; fold away from score line to create card.

2. Center and adhere 5-3/16" x 3-15/16" Smoky Slate card stock to card front.

3. Using a "B" Clear Stamping Block as the stamp, stamp rectangular shapes on 5" x 3-3/4" Whisper White card stock in the following order:
     a.  Use Smoky Slate ink to stamp the first rectangle centered from left to right and slightly higher than center from top to bottom. 
     b.  Use Gray Granite ink to stamp the second image about 3/8" higher and slightly overlapping left side of first rectangle. 
     c.  Use Sahara Sand ink to stamp the third image about 3/8" below and slightly overlapping right side of first rectangle. 

4.  Use Basic Gray ink to stamp leaves over rectangular images as shown.  Use Stampin' Sponge to apply Basic Gray ink lightly around edges of card stock.

5.  After stamping and sponging, use embossing folder to add texture to card stock.  Center and adhere to card front over Smoky Slate card stock.

6.  Use Basic Gray ink to stamp sentiment on scrap of Whisper White card stock.  Cut out words with 2-7/8" x 7/8" Stitched Rectangle die.  Use Stampin' Sponge to apply Basic Gray ink lightly around edges of label.  Adhere label to front of card as shown with Stampin' Dimensionals or Foam Adhesive Strips.  

Don't forget the inside!

Click on image for closer look.

7.  Adhere second 5-3/16" x 3-15/16" piece of Smoky Slate card stock to inside of card.

8.  Use Smoky Slate ink to stamp leaves image as shown.  Use Stampin' Sponge to apply Basic Gray ink lightly around edges of card stock.  Adhere over Smoky Slate card stock.

That's it!  A beautiful card to use for any occasion!

Cathy  ;D