 |
| Click on image for closer look. |
Materials
Paper:
* Misty
Moonlight card stock (8-12” x 5-12”)
* Bumblebee
card stock (5-3/16” x 3-15/16”)
* Whisper
White card stock (4-7/8” x 3-5/8”; 5-1/4” x 4” inside)
* Sahara Sand
card stock (4-3/4” x 3-1/2”; 4” x 3/4” inside)
* Scraps of
the following for flowers and die cuts:
Crushed Curry, Daffodil Delight, So
Saffron, Early Espresso
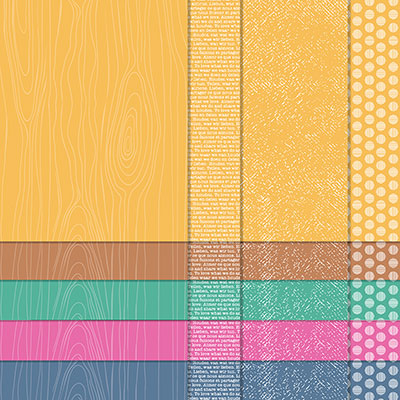
* 2020-2022 In
Color 6” x 6” Designer Series Paper ("DSP") (2-1/4” x 1-3/8” for jar punch)
* Scrap card
stock (2-1/4” x 1-3/8” for jar backing)
Other:
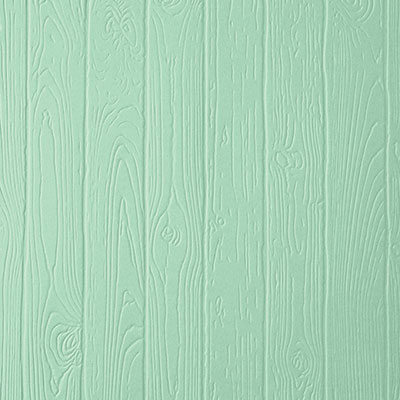
* Pinewood
Planks embossing folder
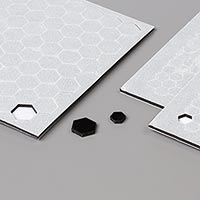
* Jar Punch
* Field of Flowers Punch
* Pearl Basic
Jewels (tiny ones are retired)
* White
Baker’s Twine (retired)
* Linen Thread
* White Marker
* SNAIL
Adhesive; Stampin’ Dimensionals (for jar); Glue Dot (for bow); Liquid Glue
(branches, flowers and sentiment)
NOTE:
Sentiment is a design from my Brother Scan ‘n Cut; the branches were hand drawn, scanned and cut on
Brother Scan ‘n Cut.
Assembly:
SNAIL Adhesive* used throughout unless otherwise noted.
1. Score 8-1/2" x 5-1/2" card stock at 4-1/4"; fold away from score line to create card base.
2. Adhere 5-3/16" x 3-15/16" Bumblebee card stock to front of card.
3. Adhere 4-7/8" x 3-5/8" Whisper White card stock over Bumblebee card stock.
4. Use embossing folder to add texture to add texture to 4-3/4" x 3-1/2" Sahara Sand card stock; adhere over Whisper White card stock.
5. Cut, stamp, or draw tree design* as shown on card. (As noted above, I printed a design I liked online, and then traced it and scanned it into my Scan 'n Cut to cut the branch; but in place of this, I think the beautiful branch from the Very Versaille stamp set would look great, or the branch from the retired Thoughts and Prayers set. I would stamp it with Early Espresso ink.)
6. Punch two jar shapes -- one from 6" x 6" 2020-2022 In Color DSP, and one from scrap card stock. Adhere the two pieces together and then use Stampin' Dimensionals to adhere to card covering base of branch.
7. Use Field of Flowers punch to punch several flowers -- I cut mine from Crushed Curry, Daffodil Delight, and So Saffron card stock. Use Liquid Glue or Glue Dots to adhere flowers to branch.
8. Attach self-adhesive pearls to centers of medium and large size flowers. Add a dot of white to centers of small flowers -- I used a retired White Gel Pen for my dots, but you also could use the White Chalk Marker and maybe even add a touch of Wink of Stella.
9. For my sentiment, I cut “Summer” just after first bar of first “m” (refer to photo) and used liquid glue to adhere to the jar as shown, and then adhered the remainder of the word to the Sahara Sand embossed card
stock. This was an image from my Scan 'n Cut, but Stampin' Up! has lots of word dies you could substitute for this image. (See page 183 of the 2020-2021 Annual Catalog.) Alternatively, you could stamp a word on white card stock and add a tag for the sentiment.
10. Use Linen Thread and White Baker's Twine to make a bow with loops wide enough to cover the width of the jar (about 1-1/2" wide). Adhere bow to jar with a glue dot behind the knot. (NOTE: Stampin' Up!'s White Baker's Twine is no longer available, but if you don't have any in your stash, you also could use craft embroidery thread, or any white string you have around the house.)
Don't forget the inside!
 |
| Click on image for closer look. |
11. Adhere 5-1/4” x 4” white card stock to inside of card.
12. Adhere use embossing folder to add texture to 4” x 3/4" Sahara Sand card stock; adhere across bottom of white card stock.
13. Use Liquid Glue or Glue Dots to adhere flowers as shown. Add white dots to center of each flower. (See Step 8 above.)
That's it! A wonderful card to welcome summer!
Cathy :D
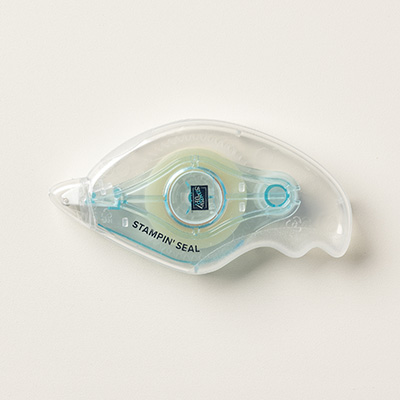
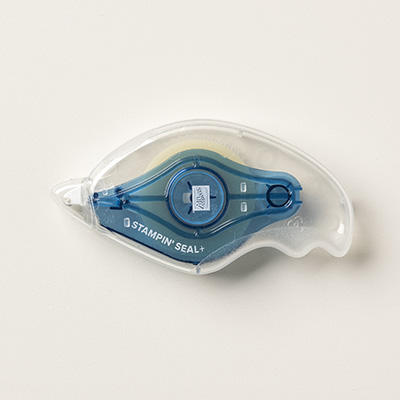
* NOTE re SNAIL Adhesive: I am continuing to use SNAIL Adhesive until I've depleted my stash; however, Stampin' Up! is no longer selling this product. Listed below is ordering information about the new Stampin' Seal and Stampin' Seal+ adhesives which have replaced SNAIL Adhesive in the new 2020-2021 Annual Catalog.
* NOTE re SNAIL Adhesive: I am continuing to use SNAIL Adhesive until I've depleted my stash; however, Stampin' Up! is no longer selling this product. Listed below is ordering information about the new Stampin' Seal and Stampin' Seal+ adhesives which have replaced SNAIL Adhesive in the new 2020-2021 Annual Catalog.


No comments:
Post a Comment