All you need to
make the basic card is an 11” x 8-1/2” piece of DSP that has a pattern on both front
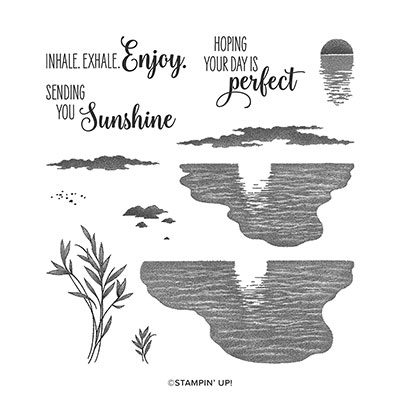
and back (the sample shown below uses See a Silhouette DSP leftover from the
Stampin’ Up! 2019-2020 Annual Catalog). It
also may be helpful – but not absolutely necessary – to have a scoring board
with a diagonal scoring plate.
The scoring,
cutting and initial folding directions follow, but you because the assembly is
just a little confusing and difficult to explain in words, you should watch a
video for that. The two YouTube video
tutorials listed below are fairly clear (although the second one is a little
long).
https://www.youtube.com/watch?v=13rwZJg_C_Q
Video by Jessica Taylor shows very clear basic instructions how to use 11”
x 8-1/2” paper to make a double-pocket card.
NOTE: This card has two pockets
on the front, but the card does not open.
https://www.youtube.com/watch?v=9PYPYSRjiBc Video by Dawn
McVee shows basically
the same instructions, but uses 12” x 12” paper and goes on to show how you can
add a LOT of embellishment. NOTE: This card shows a slightly different fold
that allows you to open the card to add an inside greeting.
 |
| Click on photo for closer look. |
Materials for Sample:
Paper:
* See a Silhouette
DSP (11” x 8-1/2”; leftover pieces for embellishments)
* Whisper White
card stock (5-1/4” x 2” for bookmark; 5” x 3-1/2” for note card; 5-1/4” x 4”
for inside)
* Night of Navy
card stock (scraps for daisies)
* Old Olive card
stock (scraps for sprigs)
* Dazzling
Diamonds Glimmer Paper (tiny scrap)
Accessories:
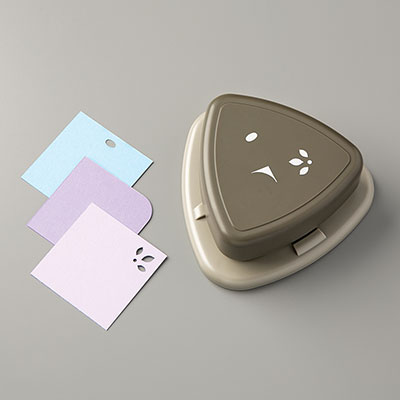
* Scallop Tag Topper Punch
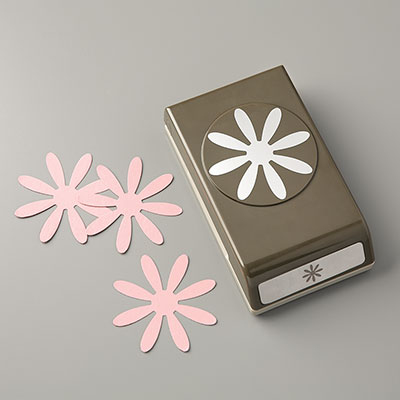
* Daisy Punch
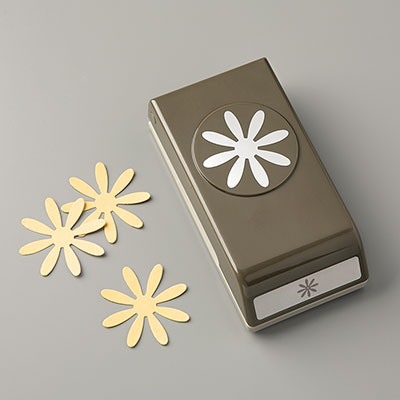
* Medium Daisy
Punch
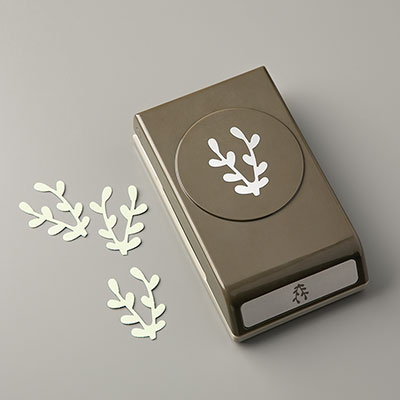
* Sprig Punch
* ½” Circle Punch from
2019-2020 Annual Catalog
* Detailed Trio
Punch
* 3/16” Braided
Linen Trim (about 12”)
* Clear Faceted
Gems from 2019-2020 Annual Catalog
* Bone Folder
* Simply Scored Scoring Tool
* Simply Scored Scoring Tool
* Adhesives:
Tombow Liquid Glue
Stamp Set (bookmark):
* Sending Sunshine stamped with Night of Navy
Ink
Assembly:
Refer to diagram below for Steps 1-5.
1. With pattern
you want to use as the inside of your card facing up, score lengthwise
at 4-1/4”; score cross-wise at 5-1/2”.
2. In lower
right-hand corner, make a small dot on right edge of paper 2-1/4” from bottom. Make second dot on bottom edge of paper 2-1/4”
from the right edge. Score paper
diagonally from dot to dot.
3. In upper
left-hand corner, make a small dot on left edge of paper 4-1/4” from the top;
score diagonally from dot to top of page at center score line.
4. Make a cut
½-way across paper from right edge to center along vertical score line as
shown.
5. Fold each
corner to inside on diagonal score line.
 |
| Click on image for closer look. |
Now you’re ready
to assemble the card. It would be very difficult to explain in
words how to fold this card, so please visit the YouTube video tutorials listed
above for clear instructions. Note that
one of the videos shows how to fold a card that doesn’t open and is simply two
pockets; the other shows how to fold the paper so you have two pockets on the
front of a card that opens like the sample shown here. If you don’t like to follow links, you can
find several videos online by Googling “Double Pocket Card Tutorial.”
Once you have folded
your card, you’re ready to embellish it.
The instructions below describe how the sample was made.
6. Instead of
folding the upper left corner to the inside, the corner flap for this card was
folded and glued to the outside (front) of the card.
Two
sprigs were punched from Old Olive card stock and glued over the flap.
Two
daisies were punched – one from Night of Navy card stock and one from leftover
DSP – and glued together with a dot of liquid glue at the center, rotating
slightly so all petals show.
Two
medium daisies were punched – one from Night of Navy card stock, and one from
leftover DSP – and glued over the larger daisies, rotating slightly so all
petals show. The assembled flower was
then glued over the sprigs, and a self-adhesive Faceted Gem was attached to the
center.
7. Pocket Inserts:

For
the bookmark,
the bottom two corners were punched with both the flower and the corner rounder
sides of the Detailed Trio Punch. This
piece was then glued to a 5-1/4” x 2” piece of leftover DSP, and the excess DSP
in the corners was trimmed with the corner rounder side of the punch. The top was then punched through both
thicknesses with the Scalloped Tag Punch.
The
sentiment was stamped with Night of Navy ink.
A sprig punched from Old Olive was glued onto the card, and a medium
daisy assembled from Night of Navy card stock and leftover DSP was glued over
the sprig. The center of the flower was
punched from Dazzling Diamonds Glimmer Paper with the ½” Circle Punch, and then
glued to the flower.
Finally,
two pieces of 3/16” Braided Linen Trim (about 6” each) were looped through the
hole at the top of the bookmark.
For
the note card,
all four corners of a 5” x 3-1/2” piece of Whisper White card stock were
trimmed with both the flower and the corner rounder sides of the Detailed Trio
Punch.
8. Don’t forget the inside! Since the sample card opens, something was needed for the inside – easy-peasy! All four corners of a 5-1/4” x 4” piece of Whisper White card stock were punched with both the flower and corner rounder sides of the Detailed Trio Punch, and then the card stock was glued to the inside of the card, ready for a personal note.

Below is another
sample of this card made years ago with some then current DSP -- if you were attending my classes at the time you may remember this. This card shows what the card front looks
like when the upper flap is folded to the inside instead of the outside. If you have several sheets of coordinating
DSP, you also can make a matching envelope as shown here.


Hope you enjoy
this project!
Cathy ;D
Cathy ;D


Love it Cathy!
ReplyDelete