Wednesday, January 15, 2020

All Occasion Card (Stamp Camp North 1/11/2020)

It's a new year, and I'm starting to get back into full swing with my card making classes and stamp camps.  So today I have a brand new card for you from my first stamp camp of 2020!

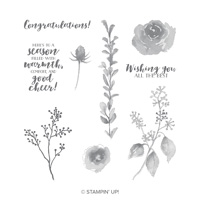
This card uses a stamp set that was first introduced in the 2018-2019 Holiday Catalog, and was then carried over into the 2019-2020 Annual Catalog, so it's still available for purchase.  I thought it was exactly the right stamp set for this card -- of course, you also could use any other stamp set you have in your stash to get a similar effect.

Click on image for closer look.
NOTE:  This card was based on a design spotted on Pinterest.  Click HERE to visit Tamie Ackerson's site and view the original card, which I believe was actually created by Ronda Wade.  (Both are Stampin' Up! demonstrators.)

Materials

Stamp Set
* First Frost

Paper
* Basic Black card stock (8-1/2" x 5-1/2")
* Smoky Slate card stock (5-3/16" x 3-15/16"; 4-3/4" x 1-5/8"; about 2-1/2" x 1-1/2" for  label punch)
* Basic Gray card stock (5" x 3-3/4")
* Whisper White card stock (1-3/8" x 1-3/8" - 3; about 2" x 1-3/8" for oval punch)

Ink
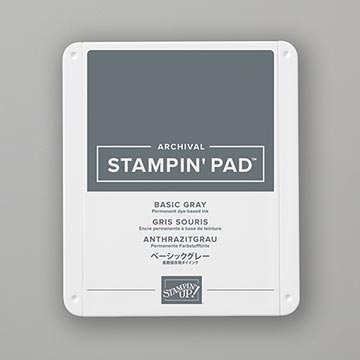
* Basic Gray Stampin' Pad

Other Stuff
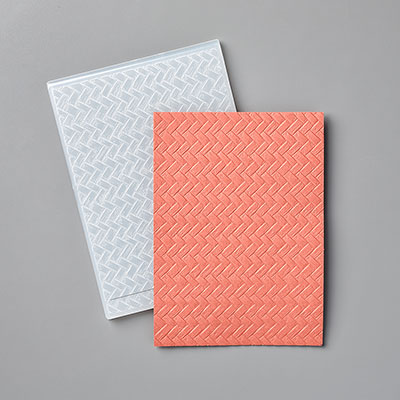
* Coastal Weave 3D Embossing Folder (January-June 2020 Mini Catalog)
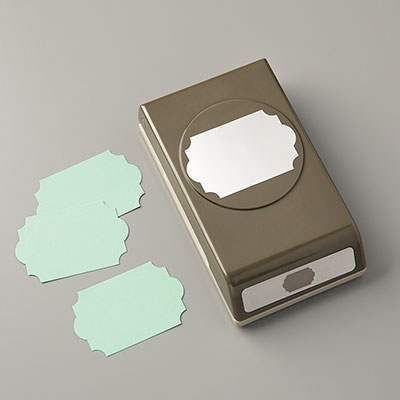
* Everyday Label Punch
* Wide Oval Punch (retired)
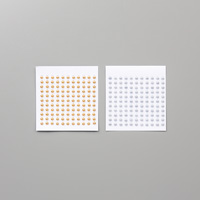
* Metallic Pearls (Silver)
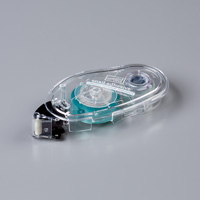
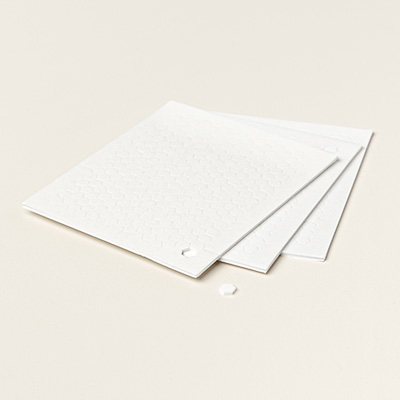
* Adhesives: SNAIL Adhesive, Stampin' Dimensionals)

Assembly
(Note: Unless otherwise indicated, SNAIL Adhesive used throughout)

1. Score 8-1/2" x 5-1/2" card stock at 4-1/4"; fold away from score line to create card base.

2. Center and adhere Smoky Slate 5-3/16" x 3-15/16" card stock to front of card.

3. Use embossing folder to add texture to Basic Gray card stock; center and adhere over Smoky Slate card stock.

4. Adhere 4-3/4" x 1-5/8" Smoky Slate card stock vertically about 1/4" from left edge of Basic Gray card stock.

5. Stamp images of your choice on each of the three 1-3/8" x 1-3/8" squares; adhere to Smoky Slate 4-3/4" x 1-5/8" card stock.  (TIP:  Lay out your pieces before adhering them to make sure you center them properly.  I find that if I adhere the top and bottom pieces first, it's easier to space the center piece evenly between them.) 

6. Punch Everyday Label from Smoky Slate card stock; set aside.

7. Stamp sentiment and punch out with Wide Oval; adhere to Everyday Label.  Use Stampin' Dimensionals to adhere label to front of card as shown.

8.  Don't forget the bling!  These silver Metallic Pearls add just the right touch of elegance without being "in your face" blingy.

Inside

The sentiment I chose for the front of this card is fairly generic, so for the inside I simply stamped one of the images from the front of the card to tie it together.  This way I can either stamp an appropriate sentiment or add a hand-written note when I'm ready to use the card.

Click on image for closer look.

I hope you enjoyed this simple and elegant card.

Cathy  ;D

Wednesday, January 1, 2020

Cheers to a New Decade!!!!

Happy New Year, Stampers!  We're heading into not only a new year, but also a new decade!  For the coming year I've made only one resolution:  to try to keep up with -- and maybe even get ahead of -- everything in my life!  Not too much to strive for, huh?!  Yes, I know it's huge, but if one doesn't at least try, all hope is lost!

To start out the year, I'm showcasing a beautiful New Year card made by my friend Cathe Valdez.

Click on photo for closer look.

For this card Cathe used the Sip Sip Hooray Bundle and Cheers to That stamp set featured in the Stampin' Up! 2019 Holiday Mini Catalog.*

Here's wishing you all a happy holiday today and an awesome year ahead!

* Important Note:  This catalog expires tomorrow, January 2.  The new January-June 2020 Mini Catalog goes live on Wednesday, January 3.

Cathy  ;D

Tuesday, December 24, 2019

Day 24 - 2019 Countdown to Christmas

Here's another cute dollar store gift idea from my friend Carol Brooks.  It's a magnet that's currently making my refrigerator look very festive indeed!

Click on photo for closer look.

Materials
* Magnetic tin (about 3-3/4" wide by 1-5/8" deep, including lid)
* Thick jute twine
* Thin jute twine for hanging loop
* Mini toy truck
* Small amount of evergreen
* Styrofoam "snowballs"
* Small amount of wrapping paper for background
* Ribbon for bow
* Hot Glue

What a cute idea for a Christmas tree ornament or gift embellishment!

Thanks again, Carol!  I love your creative mind!

Cathy  ;D

Day 23 - 2019 Countdown to Christmas

Another cute idea for gifting money . . . .


Remember the Owl Builder Punch?  (I so miss it . . . .)  This post will take you back to 2010 when we used the Owl Builder and Snowflake Punches to make a cute money holder card.

View my original post with complete materials list HERE.

Cathy  ;D

Day 22 - 2019 Countdown to Christmas


Oh no!  Christmas is almost here!!!  Need some ideas for last-minute gifts?  

Click HERE to see a YouTube video offering some unique and very creative ideas for gifting money!

Cathy  ;D


Day 21 - 2019 Countdown to Christmas


It's getting down to the wire, so today I'm sending a link a great article entitled

How to Wrap a Gift for Christmas Like a Professional


how to wrap a gift

Click HERE to visit this Country Living website to see how to make your wrapped gifts gorgeous!

Cathy