However, there 's a great way to make your bows simply and perfectly every time!
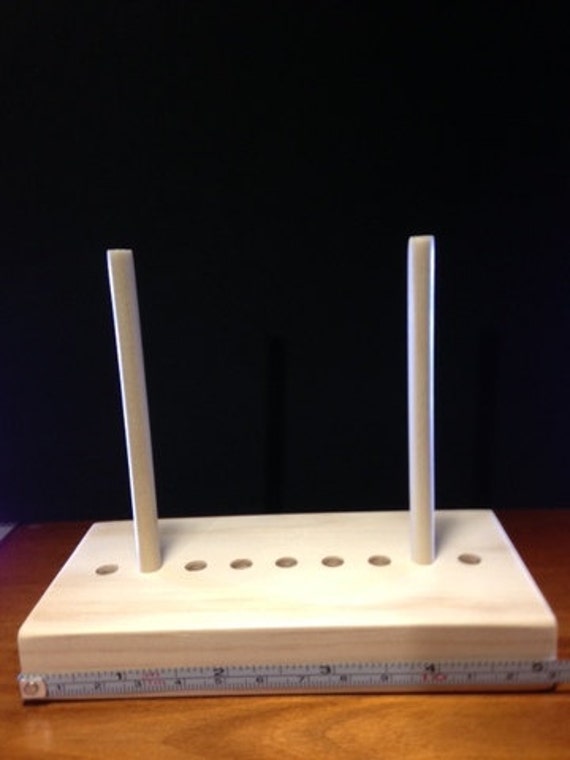
No doubt you've seen ads everywhere selling bowmaking tools. Below are a few examples of what I've seen online. Some are fairly cheap; some more expensive. (I even have a few of them myself -- two of them were purchased from local Stampin' Up! demonstrators whose husbands make them.)


Well, guess what?! With two items that you probably already have around your house you can make your own bowmaking tool for free!
Here's what mine looks like:
Ok . . . it's not fancy looking like the others, but it works like a charm!
Ingredients:
* Styrofoam Packing Block (mine is 3" deep x 2-1/4" tall x 7-1/2" long
* 1 Bamboo Skewer (cut in half)
With both of the wooden tools I have, the dowels have a tendency to loosen and fall out while I'm using them. Very annoying!!! (Especially when I'm making 100 bows for a stamp camp!)
Here's the magic of this free homemade tool . . . .
1. I can position the skewers wherever I want them to make the size bow I want.
2. When I push them all the way to the bottom, they do not move while I'm using the tool.
3. When I want to make another size bow, I can simply move the skewers to another position.
4. If I want to use wider ribbon, I can use thicker skewers for a sturdier tool.
So far I've been able to reuse the holes I've already made, and because the skewers are pushed all the way to the bottom, they don't shift on the second . . . or third . . . or fourth reuse. But if they do, there's lots more room on the surface . . . or I can turn it to use another side . . . so I can continue using this piece of styrofoam. When it gets to the point that there are too many holes and it's no longer useful, I'll just toss it and search my stash for another suitable piece of styrofoam (no, I never toss the styrofoam packing from items I purchase -- like my t-shirt says, "It's not hoarding if it's cool stuff!")
Best reason to make this tool? IT'S FREE!!!!!
If you don't know how to use the bowmaking tool, there are several tutorials on YouTube. I've watched several of the videos and found the two below to be the simplest explanations and easiest for me to understand (one is a side view; the other is a top view).
Hope you found this post helpful.
Cathy ;D

This is so awesome thanks xxx
ReplyDeleteI love sharing tips like this, Sally! Glad it was helpful for you!
DeleteMy wife saw one of these and asked me to make one. Great idea!
ReplyDelete