 |
| Click on image for closer look. |
The card shown above uses Come To Gather DSP from the 2019 Holiday Mini Catalog. The photo below shows three different versions, all using In Good Taste DSP from current annual catalog.
 |
| Click on photo for closer look. |
Paper:
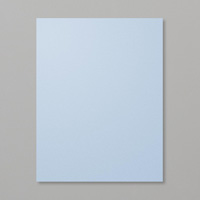
* Seaside
Spray card stock (8-12” x 5-12”; 2-1/2” x 1-1/4”)
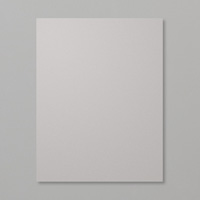
* Whisper
White card stock (5-1/4” x 4”; 2-1/4” x 1”)
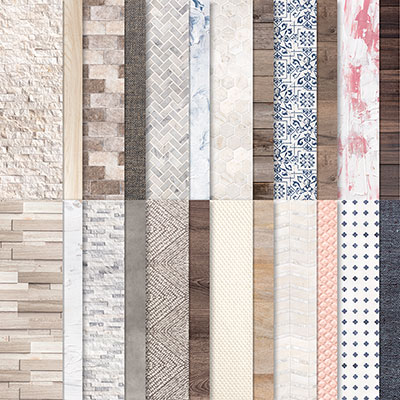
* Designer
Series Paper (“DSP”) (5” x 3-3/4”)
* Gray Granite
card stock (3-3/4” x 2” for die cut)
* Vellum card
stock (scraps for butterflies)
Inside: Gray Granite (5-1/4” x
4”); Whisper White (5: x 3-3/4*)
Other:
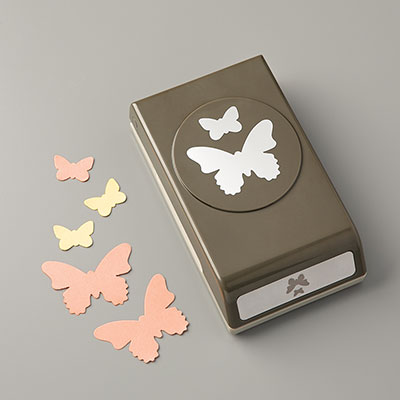
* Butterfly
Duet Punch
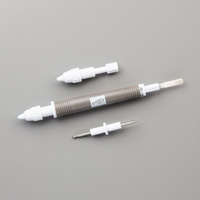
* 1/16" Handheld Punch (retired Stampin' Up! item)**
* Small Brad (retired Stampin’ Up! item)
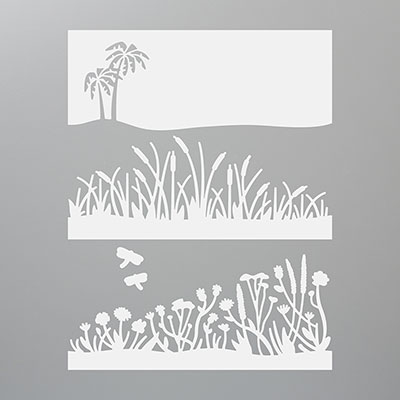
* Friendly Silhouettes Dies
* Linen Thread
(4”)
* Shimmery
Crystal Effects (bodies of butterflies on front of card)
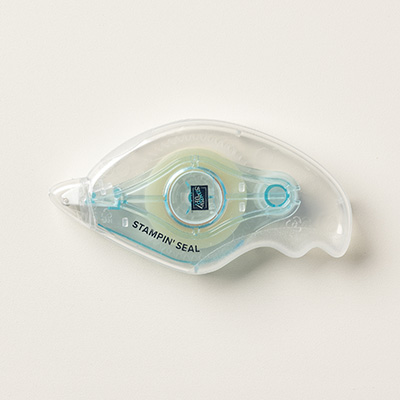
* Adhesives: SNAIL
Adhesive; Stampin’ Dimensionals or Foam Tape (for front sentiment); Liquid Glue
(for butterflies and weeds)
** If you have a Take Your Pick Tool or a Paper Piercing Tool, they also will work well to make these small holes.
NOTE: Front and inside sentiments are computer-generated.
Assembly:
(I'm still using up my stash of SNAIL Adhesive to assemble cards. Since this is no longer a current Stampin' Up! product, the new product that has replaced SNAIL -- Stampin' Seal -- appears below in the product list.)
(I'm still using up my stash of SNAIL Adhesive to assemble cards. Since this is no longer a current Stampin' Up! product, the new product that has replaced SNAIL -- Stampin' Seal -- appears below in the product list.)
1. Score 8-1/2" x 5-1/2" Seaside Spray card stock at 4-1/4"; fold away from score line to create card.
2. Center and adhere DSP on 5-1/4" x 4" Whisper White card stock. Use 1/16" punch** to punch a hole through both thicknesses about 1-1/4" from left edge and 5/8" from top edge of card stock. Insert brad and pull apart prongs on the back -- do not tighten brad until Step 4 below.
3. Stamp or create your own sentiment on 2-1/4" x 1" Whisper White card stock. Adhere to 2-1/2" x 1-1/2" Seaside Spray card stock. Use 1-1/6" punch** to poke holes about 1/8" in from the two top corners of Seaside Spray card stock. Thread one end of linen thread through hole from back to front and tie a loose knot near end of thread; repeat with other end of thread in opposite corner. Gently pull up center of thread to create a hanger. Attach Stampin' Dimensionals or Foam Tape to the back of the card stock.
4. Slip linen thread hanger over the brad and pull down gently so it is positioned behind the brad. Use a bone folder or other flat tool to flatten out the prongs of the brad on the back of the card stock. This will tighten up the brad and secure the thread hanger on the front. Remove backing from Stampin' Dimensionals or Foam Tape and attach sentiment. Adhere card stock to front of card.
5. Use Friendly Silhouette die to cut weeds from 3-3/4" x 2" Gray Granite card stock. Adhere at bottom edge of DSP with Liquid Glue.
6. Punch three small butterflies from Vellum card stock. Draw a thin line down the center of each butterfly with Shimmery Crystal Effects. Allow to dry completely. Fold back wings and adhere to card with a thin line of Liquid Glue down the center.
Don't forget the inside!
Don't forget the inside!
 |
| Click on image for closer look. |
7. Adhere 5-1/4” x 4” Gray Granite card stock to inside of card.
8. Stamp or create your own greeting and adhere 5” x 3-3/4" Whisper White card stock over Gray Granite card stock.
9. Punch three more small butterflies from Vellum card stock and adhere as shown with Liquid Glue.
(NOTE RE ATTACHING VELLUM: It's hard to find adhesives that don't show through vellum card stock. For these small butterflies, I used a thin line of Shimmery Crystal Effects to attach the butterflies to the inside of card and was pleased to see that it didn't show through the vellum at all! On the front I used regular Liquid Glue to adhere the butterflies -- that glue didn't show through the vellum because it was hidden behind the Shimmery Crystal Effects centers.)
That's it! Now you can sit back and relax while you enjoy your summer butterflies!
Cathy ;D


No comments:
Post a Comment