Today I'm sharing with you my own creation -- and showing you a technique called "ghosting." There actually is at least one other technique that's also called ghosting, and I'll also be posting a sample showing that technique soon. Today I'm showing you the technique that also is sometimes called "VersaMark Resist."
There really are only four steps involved in creating this beautiful effect.
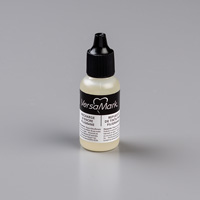
1. Use VersaMark Ink to stamp an image on white card stock.
2. Use Heat Tool and Clear Embossing Powder to heat emboss the image.
3. Use a Sponge Brayer or Stampin' Sponge to apply ink (any color other than white) over the embossed image.
4. Use a tissue to gently brush over the image, removing any residue left by the sponging.
This is what my finished background piece looks like.
 |
| Click on image for closer look. |
And this is my finished card.
 |
| Click on image for closer look. |
Materials
Stamp Sets
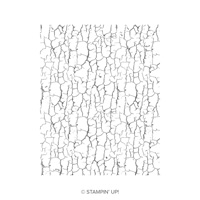
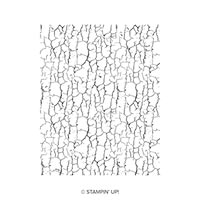
* Crackle Paint
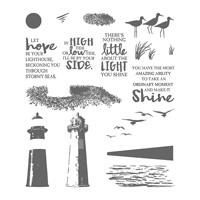
* High Tide
Paper
* Balmy Blue card stock (8-1/2" x 5-1/2")
* Whisper White card stock (5-1/4" x 4"; 4-7/8" x 3-5/8"; 4-1/4" x 2")
* Gray Granite card stock (5-1/8" x 3-7/8")
* Vellum card stock (3-5/8" x 1-7/8")
Ink
* VersaMark Ink Pad
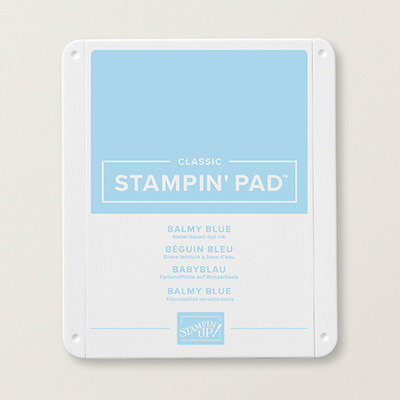
* Balmy Blue Classic Stampin' Pad
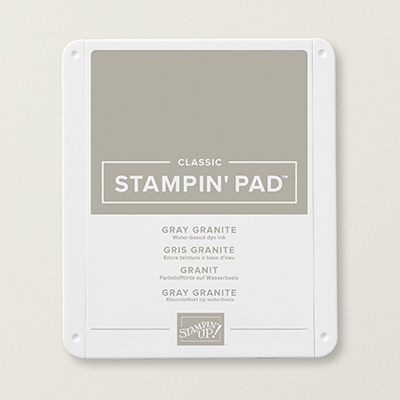
* Gray Granite Classic Stampin' Pad
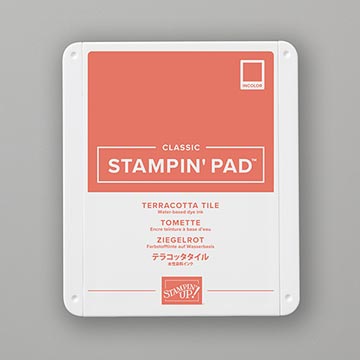
* Terracotta Tile Classic Stampin' Pad
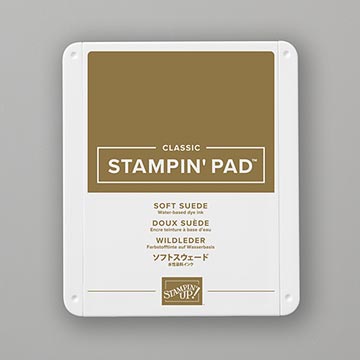
* Soft Suede Classic Stampin' Pad
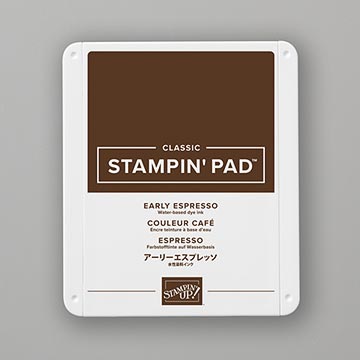
* Early Espresso Classic Stampin' Pad
Everything Else
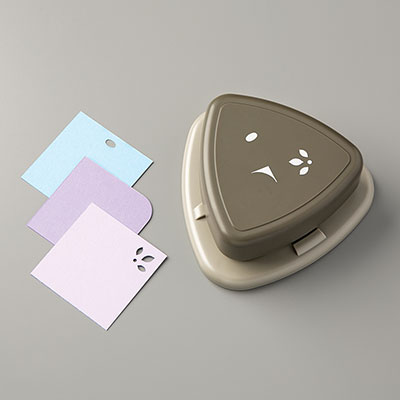
* Scalloped Tag Topper Punch
* Detailed Trio Punch (or any corner rounder punch)
* Stampin' Sponge
* Clear Embossing Powder
* Heat Tool
* Gray Granite Textured Weave Ribbon
* Large Post-it Note
* Adhesives: SNAIL Adhesive, Liquid Glue, Stampin' Dimensionals
Assembly
(Unless otherwise indicated, SNAIL Adhesive used to assemble card.)
1. Score 8-1/2" x 5-1/2" card stock at 4-1/4"; fold away from score line to create card base.
2. Adhere 5-1/4" x 4" Whisper White card stock to front of card.
3. Adhere 5-1/8" x 3-7/8" Gray Granite card stock over Whisper White card stock.
4. Create background card stock by following ghosting instructions:
- Use VersaMark pad to stamp Crackle Paint image on 4-7/8" x 3-5/8" Whisper White card stock. Use Heat Tool and Clear Embossing Powder to heat emboss image.
- Use Stampin' Sponges to apply Balmy Blue ink over entire surface of card stock; use separate sponge to apply random areas of Gray Granite ink. (TIP: I cut my Stampin' Sponges into fourths; the smaller wedges are easier to use.)
- Use Stampin' Sponge to apply Gray Granite ink around edges of card stock.
- Use a tissue to remove any ink residue from embossed image.
Adhere background card stock over Gray Granite card stock.
5. Use Early Espresso ink to stamp sentiment near the right edge of Vellum card stock; heat emboss with Clear Embossing Powder. Use Stampin' Sponge to apply Gray Granite ink around edges of Vellum card stock. Adhere Vellum card stock about 1/2" from bottom of background card stock. (NOTE 1: No need to use special ink to heat emboss on Vellum card stock -- vellum is virtually non-porous and pretty much any ink stamped on it takes quite a while to dry. Just make sure you get your embossing powder applied while the ink is still wet. NOTE 2: Thin down a small amount of liquid glue with a drop or two of water and then apply to back of Vellum card stock with a wedge of Stampin' Sponge. You may need to hold the vellum in place for several seconds for the glue to begin to hold, but once it's dry it will stay in place and won't show through the Vellum.)
6. Use Scalloped Tag Topper punch to trim one short edge of 4-1/4" x 2" Whisper White card stock; use corner rounder on Detailed Trio punch (or any corner rounder punch) to trim bottom corners.
7. Stamp lighthouse image on tag. This is a two-step stamp; the solid part of the lighthouse is stamped with Terracotta Tile; the shaded side is stamped with Gray Granite ink. Stamp a second lighthouse on a Post-it Note and cut out the image. Place the Post-it Note image over the lighthouse on the tag to complete the next few steps:
- Use Gray Granite ink to stamp the ground image at bottom of tag over the Post-it Note lighthouse.
- Lightly sponge Balmy Blue ink over Post-it Note lighthouse and remaining area above the ground to create a light blue sky.
- Use Gray Granite ink to stamp birds across Post-it Note lighthouse.
- Use Soft Suede ink to stamp a few of the tufts of grass over and around Post-it Note lighthouse.
- REMOVE POST-IT NOTE. You will see that everything you have stamped over the Post-it Note mask appears to be behind the lighthouse.
- Now use Soft Suede ink to stamp another grass image in the foreground.
- Use Stampin' Sponge to apply Gray Granite Ink around edge of tag.
- Cut a piece of ribbon about 2" and thread it through opening at top of tag. Use a Glue Dot at top of tag to hold ends of ribbon in place.
Use Stampin' Dimensionals to adhere tag to front of card as shown.
Don't forget the inside!
 |
| Click on image for closer look. |
Cut a piece of Gray Granite card stock 5-1/4" x 4" and adhere to inside of card. Cut a piece of Whisper White card stock 5" x 3-3/4" and use Gray Granite ink to stamp the ground image near the bottom left, and the birds image near top left. Add a few Soft Suede tufts of grass, and adhere Whisper White card stock over Gray Granite card stock. (Since I don't know yet what I will use this card for, I opted to not add a sentiment on the inside.)
That's it! A great card to send to a friend during this strange and stressful time we're going through.
Cathy













Absolutely gorgeous Cathy! Thanks for sharing this great technique!
ReplyDelete