 |
| Click on photo for closer look. |
Thanks to BJ Peters (https://stampinbj.com/2019/01/greek-isles-achievers-blog-hop.html) for sharing the layout for this card.
Materials
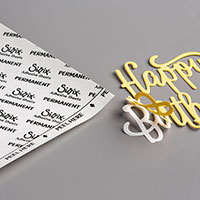
Stamp Set
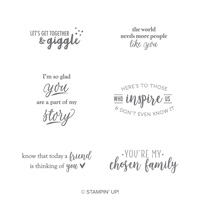
* Part of My Story (2019 Sale-a-Bration)
Paper
* Pear Pizzazz card stock (8-1/2" x 5-1/2"; 4" x 1-1/2"; 3-1/2" x 1-1/2")
* Whisper White card stock (5-1/4" x 4"; 3-1/4" x 1-1/4")
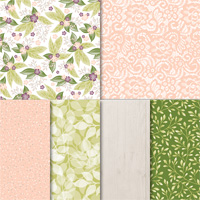
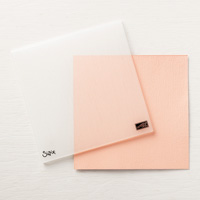
* Floral Romance Specialty Designer Series Paper ("DSP") (4" x 1-1/4")
Ink
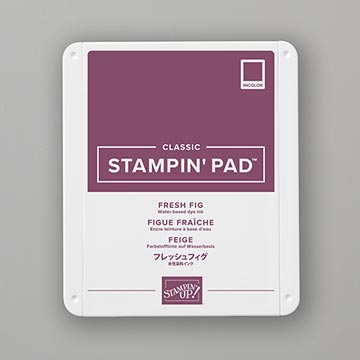
* Fresh Fig Classic Stampin' Pad
Accessories and Tools
* Big Shot Die Cutting Machine
* Subtle Embossing Folder
* Rectangle Stitched Framelits Dies (2019 Occasions catalog)
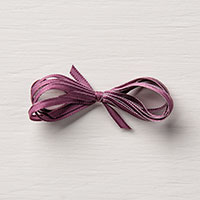
* Fresh Fig 1/8" Sheer Ribbon
* Adhesives: SNAIL Adhesive, Stampin' Dimensionals, Mini Glue Dot (optional)
Instructions
(SNAIL Adhesive used throughout unless otherwise indicated.)
1. Score 8-1/2" x 5-1/2" card stock at 4-1/4"; fold away from score line to create card.
2. Use Big Shot and Embossing Folder to add texture to 5-1/4" x 4" Whisper White card stock. Adhere to front of card.
3. Adhere 4" x 1-1/2" Pear Pizzazz card stock vertically about 3/4" from left edge of Whisper White card stock. Adhere 4" x 1-1/4" Vellum DSP over Pear Pizzazz.
4. Use Big Shot and 3-1/4" x 1-1/4" Rectangle Stitched die to cut piece of Whisper White card stock. Stamp sentiment on rectangle and adhere to 3-1/2" x 1-1/2" Pear Pizzazz card stock. Wrap ribbon around left end and tie in a bow or knot in the front (optional: add Mini Glue Dot behind knot to hold in place). Use Stampin' Dimensionals to adhere to card horizontally as shown.
Wow! Really only 4 steps?! That's it! Very simple, yet very elegant.
Cathy ;D


No comments:
Post a Comment