 |
| Click on image for closer look. |
Materials
Stamp Set
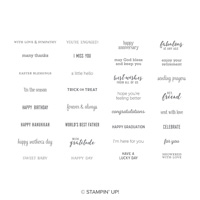
* Itty Bitty Greetings
Paper
* Whisper White Thick card stock (8-1/2" x 5-1/2")
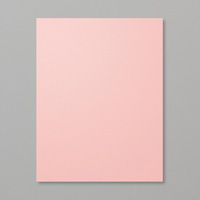
* Blushing Bride card stock (5" x 3-3/4")
* Whisper White card stock (4-3/4" x 3-1/2"; about 3" x 2-1/2" for heart die; scrap for label)
* Pear Pizzazz card stock (about 3-1/2" x 2" for two stems)
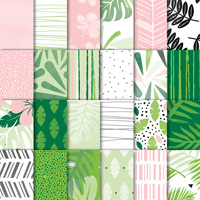
* Tropical Escape 6" x 6" Designer Series Paper ("DSP") (about 2-1/2" x 2" for butterfly punches)
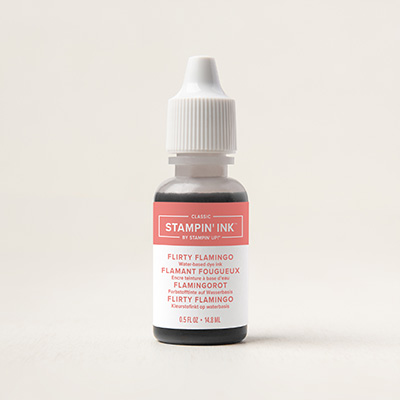
Ink
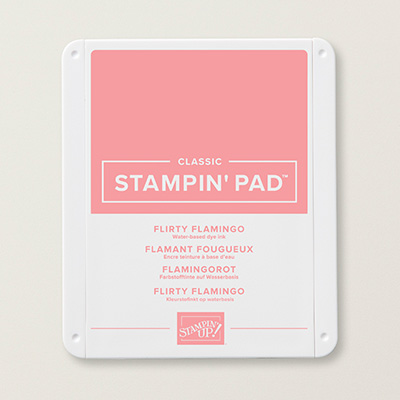
* Flirty Flamingo Classic Stampin' Pad
Accessories and Tools
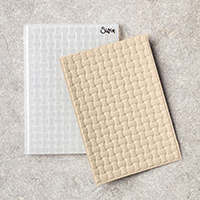
* Big Shot Die Cutting Machine
* Basket Weave Embossing Folder
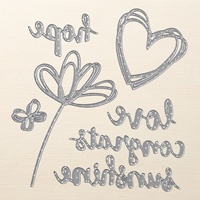
* Sunshine Wishes Thinlits Dies (heart)
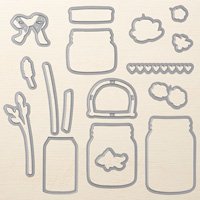
* Everyday Jars Framelits Dies (stems)
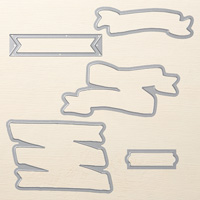
* Bunch of Banners Framelits Dies (label)
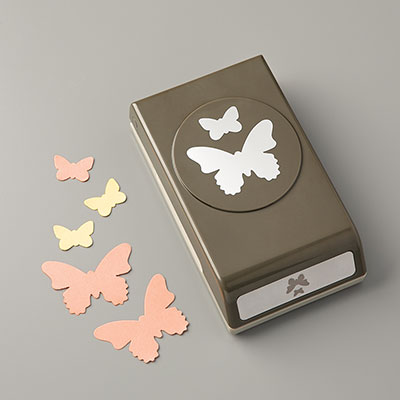
* Butterfly Duet Punch
* Linen Thread
* Metallic Pearls
* Adhesives: SNAIL Adhesive; Multipurpose Liquid Glue; Mini Glue Dot
Instructions
1. Score 8-1/2" x 5-1/2" Whisper White Thick card stock at 4-1/4"; fold away from score line to create card.
2. Use SNAIL Adhesive to adhere 5" x 3-3/4" Blushing Bride card stock to card front.
3. Use Big Shot and embossing folder to add texture to 4-3/4" x 3-1/2" Whisper White card stock; use SNAIL Adhesive to adhere to front of card over Blushing Bride card stock.
4. Use Big Shot and Sunshine Wishes die to cut heart shape from Whisper White card stock; adhere to card with tiny dots of Multipurpose Liquid Glue.
5. Use Big Shot and Everyday Jars Framelits die to cut two stems from Pear Pizzazz card stock; adhere over left edge of heart shape with tiny dots of Multipurpose Liquid Glue.
6. Stamp sentiment on scrap of Whisper White card stock; use Big Shot and Bunch of Banners die to cut out label; adhere near bottom of heart over stems with Multipurpose Liquid Glue. Add two self-adhesive silver Metallic Pearls as shown.
7. Punch butterflies from DSP; fold wings back and adhere to card with a thin line of Multipurpose Liquid Glue down the center of each butterfly.
8. Make a three-loop bow and adhere over stems with one Mini Glue Dot behind the knot. (NOTE: The loops for my bow are about 3/4" long.)
That's it! Your card is finished and ready to add a sentiment of your choice to the inside.
Cathy ;D


No comments:
Post a Comment