 |
| Click on image for closer look. |
This card features an age-old, fun and easy technique
to create the colorful leaves.
Materials
Stamp Set
All the Good Things
All the Good Things
Paper
Cajun Craze card stock (8-1/2” x 5-1/2”, scored at 4-1/4”)
Copper Foil Sheet (5-1/4” x 1”)
Cajun Craze card stock (8-1/2” x 5-1/2”, scored at 4-1/4”)
Copper Foil Sheet (5-1/4” x 1”)
·
Early Espresso card stock (5-14” x 7/8”; about
2-1/2” x 1-3/4”)
·
Soft Suede card stock (about 1-1/4” x 6”)
·
Very Vanilla card stock (about 2-1/2” x 1-3/4”
for punch)
·
Glossy White card stock (about 2” x 6”)
Ink
·
Early Espresso Classic Stampin’ Pad
·
Cajun Craze Refill Ink
·
Crumb Cake Refill Ink
·
Crushed Curry Refill Ink
Accessories and Tools
·
Big Shot Die Cutting Machine
·
Seasonal Layers Thinlits Dies
·
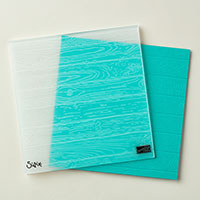
Pinewood Planks Embossing Folder
·
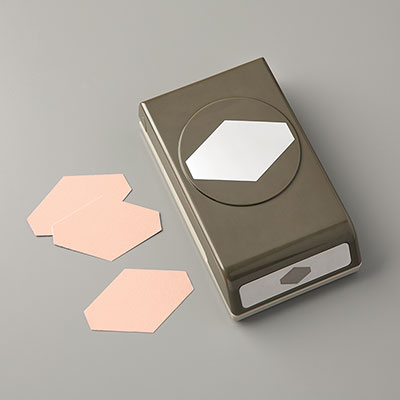
Tailored Tag Punch
·
Wink of Stella Glitter Brush (Clear)
·
Stampin’ Sponge
·
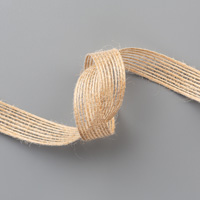
5/8” Burlap Ribbon (6”)
·
Adhesives: Tear n Tape (optional); SNAIL; Glue
Dots; Stampin’ Dimensionals
Miscellaneous Supplies
·
Cotton Balls
·
91% Isopropyl Alcohol
NOTES:
- To create the mat for the sentiment on the front, adhere the Very Vanilla tag to a larger piece of Early Espresso card stock and cut around the edges, leaving a slight border. Use Stampin’ Dimensionals to adhere to front of card.
- Sponge Early Espresso ink around the edges of the card to add dimension.
- To create the vertical strip, adhere the Early Espresso strip over the Copper Foil strip, then adhere the Burlap Ribbon with Tear ‘n Tape or Glue Dots. Wrap ends to the back and secure with glue dots. Adhere the strip to the card before adding the leaves.
- Apply Clear Wink of Stella to the small leaves cut from Soft Suede card stock to add some subtle glimmer.
- To create the fun colors on the large leaves, first cut them out of Glossy White card stock. Then add rubbing alcohol to a cotton ball so it’s saturated, but not drippy. Add a few drops of each of the three Refill Inks shown above and start daubing. (You also can create different looks by swiping rather than daubing.) Mixed with the alcohol, the ink dries almost on contact with the paper, and you’re ready to attach them over the ribbon with Glue Dots. (TIP: This is how we made the leaves in class – if you’re planning to make several cards, to save time you can make an entire sheet of this beautiful glossy paper first, and then die cut the leaves.)
- A little alcohol and ink goes a long way, so we made lots and lots of leaves and added some of them to the inside of the card – just for fun.


No comments:
Post a Comment