Pages

Thursday, May 30, 2019

Needle and Thread Spool Card
Thanks to my upline Michelle Theriault for this card idea.

Click on image for closer look.

Stamp Set
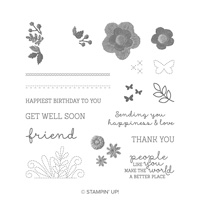
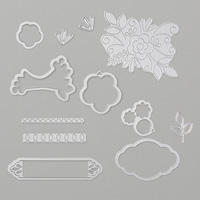
* Needle and Thread (2019 Occasions Catalog)

Paper
* Gray Granite card stock (11” x 4-1/4”)
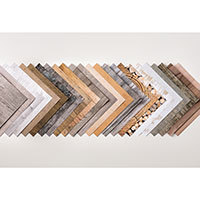
* Wood Textures 6” x 6” DSP (5-1/2” x 4-1/4”)
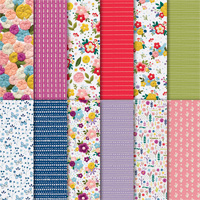
* Needlepoint Nook DSP (3-1/16” x 2-1/2”) (2019 Occasions Catalog)
* Whisper White card stock (scraps for label and flowers)
* Mossy Meadow card stock (scraps for leaves)

Ink
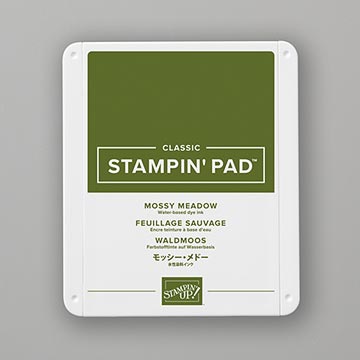
* Mossy Meadow Classic Stampin’ Pad
* Stampin’ Write Markers: Blackberry Bliss, Crushed Curry, and Real Red

Accessories and Tools
* Big Shot Die Cutting Machine
* Needlepoint Elements Framelits Dies (2019 Occasions Catalog)
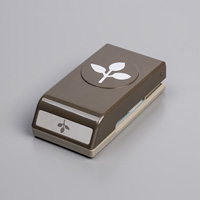
* Leaf Punch
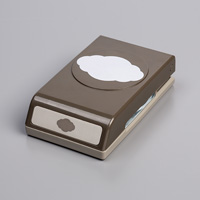
* Pretty Label Punch
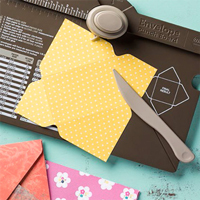
* Envelope Punch Board
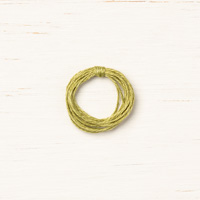
* Old Olive Linen Thread
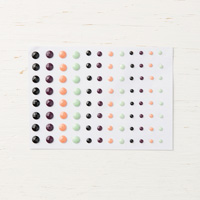
* Faceted Dots
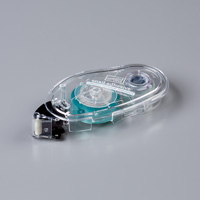
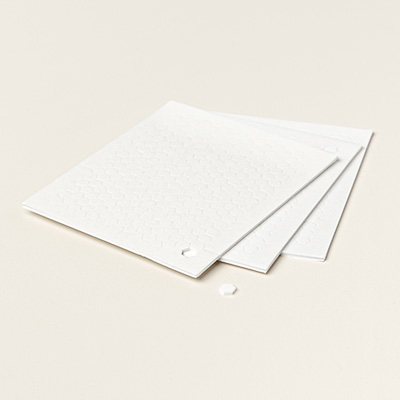
* Adhesives: SNAIL; Glue Dot; Mini Stampin’ Dimensionals; Liquid Glue

NOTES:
  1. Score 11” x 4-1/4” card stock at 5-1/2”; fold away from score line to create card.
  2. Adhere Wood Textures DSP to front of card.
  3. Using Envelope Punch Board, line up top folded edge of card at 1-1/2” and punch through all thicknesses.  Repeat from bottom edge.  Flip card over and repeat for other side of card.  You will now have four notches in your card – two on each side.  Use Stampin’ Trimmer to cut from the inside edge of the top notch to the inside edge of the bottom notch on each side. (See photo.)
    Click on image for closer look.
  4. Adhere 3-1/6" x 2-1/2" strip of DSP to front of card as shown.
  5. Use Leaf Punch to cut two leaves from Mossy Meadow card stock; adhere to front of card with liquid glue.
  6. Stamp Sentiment on scrap of Whisper White card stock with Mossy Meadow ink.  Use Big Shot and Needlepoint Elements to add stitching around sentiment; punch out with Pretty Label Punch.  Adhere over leaves.
  7. Use Stampin’ Write Markers to color flowers; cut out with Big Shot and three-flower die.  Adhere to front of card with Mini Stampin’ Dimensionals.  Add self-adhesive Faceted Dots to centers of each flower.Make a small bow with Linen Thread and adhere to front of card with a rolled up Glue Dot behind the knot.
  8. OPTIONAL:  If you want to add an inside piece of Whisper White card stock, cut it to 5-1/4” x 4” and repeat Step 3, but line up the edge of the card stock at 1-3/8” instead of 1-1/2”.
That's it!  What a fun card to make!

Cathy  ;D


Wednesday, May 15, 2019

April Class Project -- Step Up Panel Card

This great card looks to hard to make, but it's actually quite easy!  As a matter of fact, it may have been the easiest card in my April classes!


Click on photo for closer look.


This card is based on a design I found on Pinterest.  Thanks to Stampin’ Up! Demonstrator Cheryl Smith for this card layout.  View Cheryl’s YouTube tutorial at https://www.youtube.com/watch?time_continue=201&v=SUqHyNjN07s for detailed instructions.  See information for my version of this card below.

Paper
* Berry Burst card stock (11” x 4-1/4”; 5-1/2” x 3”)
* Fresh Fig card stock (5-1/4” x 4”; 4” x 1-1/4”; 3-1/4” x 2-3/4”)
* Sahara Sand card stock (5” x 3-3/4”; 3-3/4” x 1-1/2”; 3” x 2-1/2”)
* Blackberry Bliss card stock (scraps for circle and label)
* Gold Foil Sheet (small amount for dragonfly)
* Vellum card stock (small amount for dragonfly wings)

Accessories and Tools
* Big Shot Die Cutting Machine
* Layered Leaves Embossing Folder
* Detailed Dragonfly Thinlits Dies
* Lakeside Framelits Dies (label)
* Chase Your Dreams Framelits Dies (sentiment)
* 2-1/4” Circle Punch
* Faceted Gems.
* Gold Metallic Pearls
* Adhesives: SNAIL; Tear ‘n Tape; Stampin’ Dimensionals; Liquid Glue

NOTES:
1. Score 11” x 4-1/4” Berry Burst card stock at 1/2”, 2”, 4” and 5-1/2”; score 5-1/2” x 3” card stock at 1/2" and 2”.
2. Emboss all pieces of Sahara Sand card stock with Layering Leaves embossing folder and adhere to coordinating sizes of Fresh Fig card stock.
3. Adhere all pieces to Berry Burst card stock as shown in diagram below.


4. Now you’re ready to assemble.  Rather than explaining here in words, since a picture says a thousand words, it would be much easier for you to understand by watching the YouTube video at https://www.youtube.com/watch?time_continue=201&v=SUqHyNjN07s.  Once card is assembled, you can “flatten it out” to add the embellishments.

5. Cut 2-1/4” Circle from Blackberry Bliss card stock; adhere to 3” x 2-1/2” Sahara Sand embossed card stock.  Cut solid Dragonfly from Gold Foil.  Cut Detailed Dragonfly from Vellum card stock; remove head and body and adhere just the wings to the Gold Foil Dragonfly with a Glue Dot in the center.  Use Stampin’ Dimensionals to adhere Dragonfly to circle.  Add Gold Faceted Gem and Gold Metallic Pearls as shown.
6. Cut label from Blackberry Bliss card stock.  Cut “dream” from Gold Foil.  Use small dots of Liquid Glue or Glue Dots to adhere to label.  Use Stampin’ Dimensionals to adhere label to 5-1/4” x 4” Sahara Sand embossed card stock as shown in sample.
OPTIONAL:  If you want to add a greeting or note to your card, you can add something to the back.  This is what the back of my card looks like.  The mat piece is 5-1/4” x 4” Sahara Sand card stock; the dragonfly (from Dragonfly Dreams) is stamped on 5” x 3-3/4” Whisper White card stock with Sahara Sand ink.


I hope you enjoy this card!

Cathy  ;D

Tuesday, May 7, 2019

Pinecone Cottage Retreat (March 2019)


Oh my gosh!  I can't even begin to tell you how awesome our weekend crafters' retreat was the last weekend in March!  My Stampin' Up! demo friends and I spent 4 days and 3 nights at Pinecone Cottage in Pine, CO.  The place is beautiful and is equipped for (ideally) nine crafters to spend the weekend.  Each crafter has a 6-foot table with a lamp and scrap bag.  The cottage is equipped with all the modern conveniences, plus ample sleeping accommodations and several bathrooms.  Plus, it's less than an hour from Denver.

While we were there, several of us participated in a "shoe box swap" where we made a project, and then put together kits for everyone else to make them.  Below are the fun projects we worked on.  Click on any of the photos for a closer look.


This sweet tag is Cathe Valdez's project.  Cathe's project included a cowgirl hat and a rusted metal star, but I'm about as country as Metallica, so I omitted those items from my tag.


Cathleen Garcia's project was very cute and quick.  She provided the photo with this wonderful quote (perfect for my craft room -- actually for my whole house), and we put it together and added embellishments.


This is my project -- watch for instructions to be posted soon (we also made this in my craft room and Craft Box classes in April.


Loved this project from Joline Sanchez.  Joline provided the shadowbox frames and the big letters and all kinds of embellishments -- we assembled them to fit our own tastes.  This is now hanging on the wall in my craft room.


Juli Whitfield had this beautiful "tea box" for us to make.  Some of you may remember making these in my classes earlier this year, and I also featured it in my Christmas Countdown series back in December.  Click HERE for instructions to make it (a great last-minute gift idea that's easy-peasy and very quick to make).


Kim McNeill's sweet little bunny treat pouch is made with the envelope punch board.  The card pulls up to reveal chocolate!  YUM!


Patricia Parker's project couldn't have been easier.  She pre-made the card pouches for us, and scored the card stock, so all we had to do was stamp the sentiments!  Patricia later e-mailed a link to the instructions to make the box.  Click HERE for the link.  Below are Patricia's modifications to make the envelope fit 5-1/2" x 4-1/4" note cards.

  • Use 12" x 12" card stock.
  • Score at 3" and 9".
  • Rotate paper 90 degrees and score at 3", 3-3/4", 8-1/4" and 9".


Terry Kaspari brought tea towels, fabric paints and stencils for us to make this great project!  After we had all stenciled our projects, we let them sit overnight and then Terry pressed them to set the paints.


Love this gift bag by Tina Smith.  The note card on the front slips through the slit in the yellow note card hanger on the front!

I hope you enjoyed these projects as much as we enjoyed making them!

Cathy  ;D

Sunday, May 5, 2019

Catching Up . . . again . . . (sigh)

Several weeks ago (!) I posted instructions for the card I had made at the March 23 stamp camp at Rose Hill Grange.  Below are photos of all the cards made at that stamp camp.  Click on the photos for a closer look.


Not making any promises, but I hope to be able to post a few more "catch up" photos later today, and more card instructions later in the week.

Cathy  ;D