(Click on any of the images below for a closer look.)

Materials
Stamp Set
* Coffee Café
Paper
* Early Espresso card stock (5-1/2” x 4-1/4”; 4”
x 3”; 3-3/4” x 1”; scrap for lid)
* Crumb Cake card stock (5-1/4” x 4”)
* Very Vanilla card stock 2” x 2-3/4” for cup;
3-3/4” x 2-3/4” for gift card holder (inside)
* 2018-2020 In Color 6” x 6” Designer Series
Paper (“DSP”) Stack (4-3/8” x 2-3/4”; 3-1/4” x 3/4")
Ink
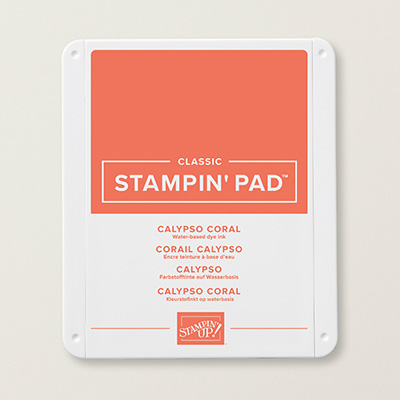
* Calypso Coral Classic Stampin’ Pad
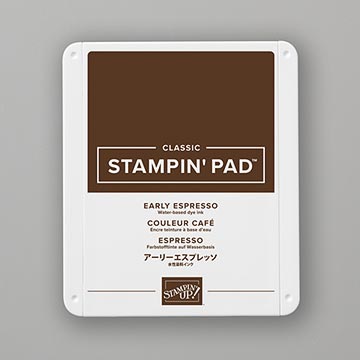
* Early Espresso Classic Stampin’ Pad
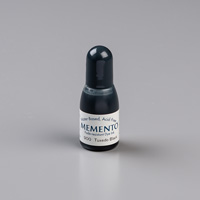
* Tuxedo Black Memento Pad
Accessories and Tools
* Big Shot Die Cutting Machine
* Coffee Cups Framelits Dies
* Stampin’ Trimmer
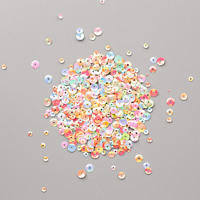
* Iridescent Sequin Assortment
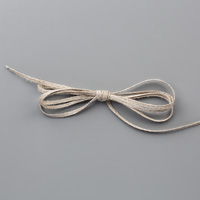
* 3/16” Braided Linen Trim (carried over from
2018 Holiday Catalog)
* Adhesives: SNAIL Adhesive; Mini Glue Dots;
Stampin’ Dimensionals; Multipurpose Liquid Glue
Instructions
(SNAIL Adhesive used throughout unless
otherwise indicated.)
1.
Adhere
4-2/8” x 2-3/4” DSP to 4” x 3” Early Espresso card stock, leaving 1/2” overlap
at the top (see photos).

2.
Apply
adhesive to flap, position on 5-1/4” x 4” Crumb Cake card stock, fold over and
adhere flap to back of Crumb Cake card stock (see photos).

3.
Adhere
Crumb Cake card stock to 5-1/2” x 4-1/4” Early Espresso card stock.

4.
On
3-3/4” x 2-3/4” Very Vanilla card stock, use Stampin’ Trimmer to cut a slit
1-1/4” from each short edge, leaving 1/4" on each side. Insert gift card through slots (or make a
3-1/2” x 2” placeholder to slide through).
Adhere to Crumb Cake card stock under flap created in Step 2 above,
being sure to leave area under center section between two slits unglued. (See photos.)

5.
Tie
Linen trim around top flap as shown in samples and tie in a knot or bow near
left side; secure knot with Glue Dot.
6.
Use
black ink to stamp large coffee cup on Very Vanilla card stock; use Big Shot
and dies to cut out coffee cup; also cut a coffee cup lid from Early Espresso
card stock. Use Calypso Coral to stamp
sentiment on coffee cup; adhere lid to top of cup with a thin line of Liquid
Glue. Adhere coffee cup to top flap of
card with Stampin’ Dimensionals.
7.
Adhere
3-3/4” x 1” strip of Early Espresso card stock near bottom of card; adhere
3-1/2” x 3/4" DSP over Early Espresso.
8.
For
bling card, use Glue Dots or other adhesive to adhere sequins randomly on card;
for more masculine look, use Early Espresso ink to stamp coffee beans randomly.
That’s it!. When you're ready to use the card, replace the "placeholder" gift card with a real one.
I hope you enjoyed this project!
Cathy ;D


No comments:
Post a Comment