In any event, today's project is a 2019 mailable calendar that we made at my table at Rose Hill Stamp Camp this past Saturday, December 29. What a fun day we had! The theme for decorations and attire was a day at the beach to celebrate making it through the craziness surrounding Christmas.
 |
| Click on image for closer look. |
Materials
Stamp Sets
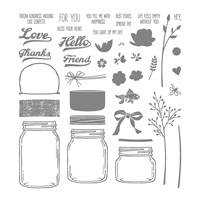
* Jar of Love
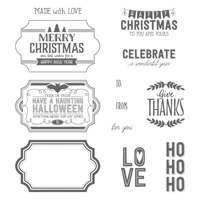
* Labels to Love (outside sentiment)
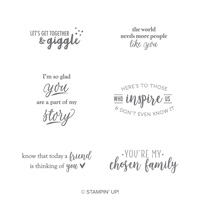
* Part of My Story (inside sentiment; 2019 Sale-a-Bration Brochure)
Paper
* Basic Gray card stock (8-1/2" x 5-1/2")
* Whisper White card stock (4" x 3" for inside; 4" x 2" for right side front; about 2-1/2" x 1-1/2" (2 pieces) for outside and inside labels
* Pear Pizzazz card stock (about 4-1/4" x 1" for stem and leaves)
* Grapefruit Grove card stock (about 1-1/2" x 3/4" for large and small flowers)
* So Saffron card stock (about 1-1/2" x 3/4" for large and small flowers)
* Vellum card stock (2-1/4" x 1-3/4" for jar)
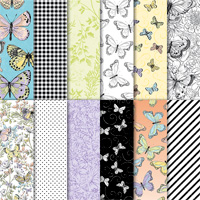
* Botanical Butterfly Designer Series Paper ("DSP") (2019 Sale-a-Bration Brochure)
Ink
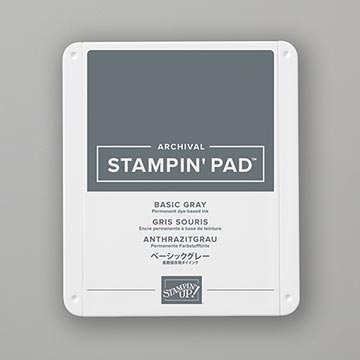
* Basic Gray Stampin' Pad
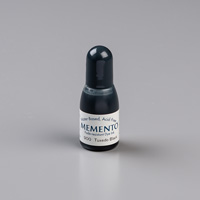
* Tuxedo Black Memento Pad
Accessories and Tools
* Big Shot Die Cutting Machine
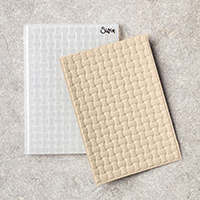
* Basket Weave Embossing Folder
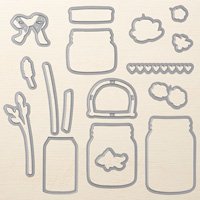
* Everyday Jars Framelits Dies
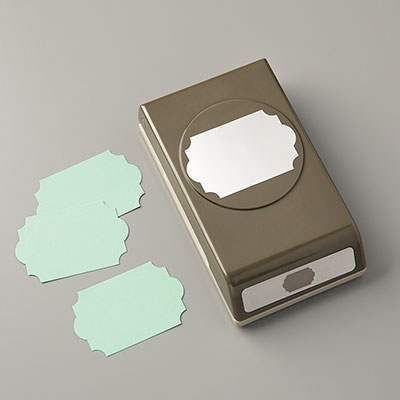
* Everyday Label Punch
* Stampin' Sponge (cut into fourths for easier handling)
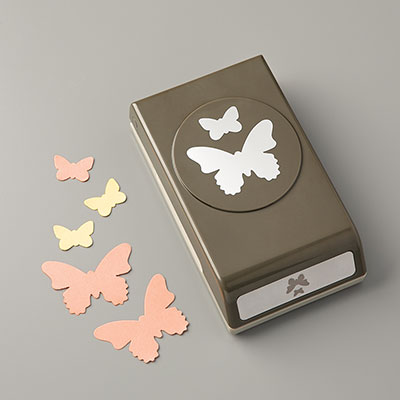
* Butterfly Duet Punch (2019 Occasions Catalog)
* Simply Scored Scoring Tool
* Stampin' Trimmer
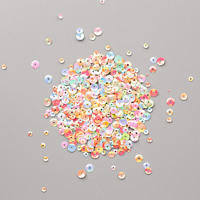
* Sequin Assortment - Iridescent
* Adhesives: SNAIL Adhesive; Multipurpose Liquid Glue; Mini Glue Dots; Stampin' Dimensionals
Other
* 3" x 2-1/4" Mini Calendar Pad*
* Calendar pads are available from several different online sources; I purchased mine from www.tayloredexpressions.com.
Instructions
1. Score 8-1/2" x 5-1/2" Basic Gray card stock at 4-1/4"; use Stampin' Trimmer to cut front of card from score line to bottom of card creating two panels -- the left panel is 3-1/4" wide; right panel is 2-1/4" wide. Score left-side panel horizontally at 2-1/8". Fold away from both score lines to create card base.
2. Glue right flap (2-1/4") closed.
3. Use Big Shot and embossing folder to add texture to 4" x 2" Whisper White card stock; adhere over right flap.
4. Use Memento Ink to stamp jar image on Vellum card stock.** Using Big Shot and Everyday Jars dies, cut out stamped jar, cut stem from Pear Pizzazz card stock cut one large and one small flower from Grapefruit Grove card stock, and cut one large and one small flower from So Saffron card stock. Adhere stem, jar, and small Grapefruit Grove flower to embossed Whisper White card stock with Liquid Glue; adhere small So Saffron flower to large Grapefruit Grove flower with Liquid Glue, and attach two large flowers with Stampin' Dimensionals. Use Glue Dots to adhere Sequins to centers of each flower. (Refer to photo for position.)
** NOTE: The Memento Ink took FOREVER to dry on Vellum card stock! Two solutions to this issue might be to (1) sprinkle clear embossing powder over image and emboss with heat tool; or (2) if you don't mind staining your photopolymer stamps, stamp images with Black StazOn Ink.
5. Use Butterfly punch to cut large butterfly from DSP; fold wings back and adhere over jar as shown with a line of Liquid Glue down the center of butterfly.
6. Adhere calendar to bottom panel of card, being careful to not get glue on top 3/8" to 1/2" of calendar. (Gluing entire calendar will prevent you from folding it down and standing it up.)
7. Use Memento Ink to stamp sentiments for inside and outside; punch out with Everyday Label punch; use Stampin' Sponge to apply Basic Gray ink around edges of both labels.
8. Use SNAIL Adhesive to adhere outside sentiment in space above calendar. Punch small butterfly from DSP, fold wings back and adhere with dot of Liquid Glue in center of butterfly.
9. Adhere 4" x 3" Whisper White card stock to inside of left panel. Use Stampin' Dimensionals to adhere label with inside sentiment as shown; punch small butterfly from DSP, fold back wings, and adhere to label with Liquid Glue in center of butterfly.
You're now ready to mail this to a good friend . . . or set on your own desk to remind yourself that you have lots of friends out there who are thinking of you every day!
Enjoy!
Cathy ;D
Enjoy!
Cathy ;D


Mine is proudly sitting on my desk to help me through the new year!
ReplyDelete