Petal Passion All-Occasion Card
Thanks to Stampin' Up! demo Robbie Rubala for inspiring this card. View Robbie's original design at https://creationsinpaper.com/remarkable-you-from-stampin-up/
Materials
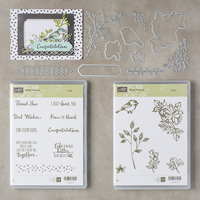
Stamp Set
* Petal Palette (2018 Occasions Catalog)**
Paper
* Rich Razzleberry card stock (8-1/2" x 5-1/2"; 5" x 3-3/4")
* Basic Black card stock (5-1/8" x 3-7/8"; 3-1/8" x 3-1/8"; about 3-1/2" x 1-3/4" for die)
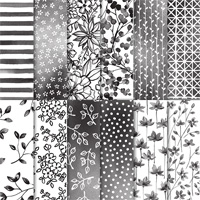
* Petal Passion Designer Series Paper ("DSP"; 3" x 3"; 2018 Occasions Catalog)
* Whisper White THICK card stock (about 3" x 2-1/2" for flower die)
Ink
* Basic Black Archival Stampin' Pad
Accessories and Tools
* Big Shot Die Cutting Machine
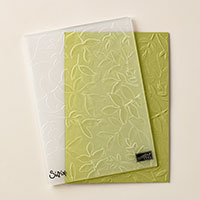
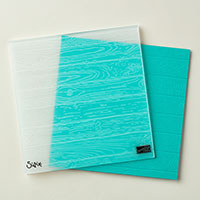
* Layered Leaves Dynamic Embossing Folder
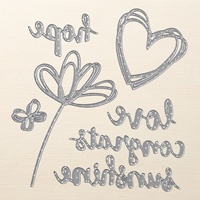
* Celebrate You Thinlits Dies (2018 Sale-a-Bration Brochure)***
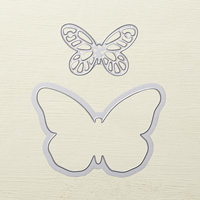
* Petals and More Thinlits Dies (2018 Occasions Catalog)**
* Aqua Painter or Blender Pen
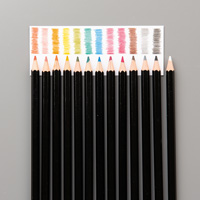
* Watercolor Pencils
* Adhesives: SNAIL Adhesive; Stampin' Dimensionals; Multipurpose Liquid Glue
Instructions
(NOTE: Unless otherwise indicated, SNAIL Adhesive used to assemble card.)
1. Score 8-1/2" x 11" card stock at 4-1/4"; fold away from score line to create card base.
2. Adhere 5-1/8" x 3-7/8" Basic Black card stock to front of card.
3. Use embossing folder and Big Shot to add texture to 5" x 3-3/4" Rich Razzleberry card stock; adhere over Basic Black card stock.
4. Adhere 3" x 3" DSP to 3-1/8" x 3-1/8" Basic Black card stock. Use Stampin' Dimensionals to attach to front of card at equal distances from top and side edges.
5. Stamp flower image on Whisper White THICK card stock. Use Watercolor Pencils and Aqua Painter or Blender Pen to add color to flowers. (I used Rich Razzleberry and Calypso Coral for the flowers; Old Olive for the leaves.) Use Big Shot and Petals and More Thinlits Die to cut out flower. Use Stampin' Dimensionals to attach flowers over DSP.
6. Use Celebrate You Thinlits Die to cut "amazing" from Basic Black card stock. Adhere to card as shown with tiny dots of Multipurpose Liquid Glue.
That's it! This card is complete!
** Save 10% through the end of May 2018 by purchasing the Petal Palette Bundle -- includes the
Petal Palette Stamp Set and the Petals and More Thinlits Dies.
*** Earn the Celebrate You Thinlits Die for free with a minimum $100 Stampin' Up! catalog order.


Petal Palette Stamp Set and the Petals and More Thinlits Dies.
*** Earn the Celebrate You Thinlits Die for free with a minimum $100 Stampin' Up! catalog order.
Floral Thank You Card
This design is traditionally done with a technique sometimes called "Triple Time Stamping," where you layer up the pieces of white card stock and stamp all of your images at once, then insert card stock to cover the areas around each piece where the stamping has little gaps due to stamping on layers. Since this was a DSP class, rather than stamping the three layers we used Designer Series Paper.
Materials
Stamp Set
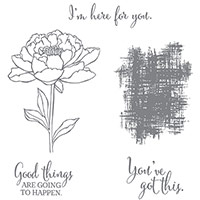
* Floral Phrases
Paper
* Tranquil Tide card stock (8-1/2" x 5-1/2"; 4-3/4" x 3-1/2"; 4" x 2-3/4")
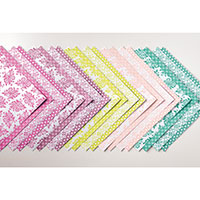
* Fresh Floral Designer Series Paper Stack ("DSP"; 5-1/4" x 4"; 4-1/2" x 3-1/4")
* Whisper White card stock (3-3/4" x 2-1/2")
Ink
* Tranquil Tide Classic Stampin' Pad
Accessories and Tools
* Stampin' Sponge (I cut mine in fourths for ease of use)
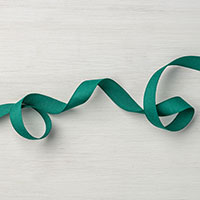
* 1/2" Finely Woven Ribbon (Tranquil Tide)
* Adhesive: SNAIL Adhesive; Glue Dots
Instructions
(NOTE: Unless otherwise indicated, SNAIL Adhesive used to assemble card.)
1. Score 8-1/2" x 5-1/2" card stock at 4-1/4"; fold away from score line to create card base.
2. Select two contrasting or coordinating designs of DSP; use Stampin' Sponge to apply ink around edges of each piece.
3. Begin layering on front of card from the bottom up as follows: 5-1/4" x 4" DSP; 4-3/4" x 3-1/2" card stock; 4-1/2" x 3-1/4" DSP; 4" x 2-3/4" card stock.
4. On 3-3/4" x 2-1/2" Whisper White card stock, stamp floral design and sentiment. Adhere over top layer of card stock.
5. Make a bow about 2" wide; cut tails to make completed bow about 3" wide. Apply one or two glue dots behind knot and attach to card near bottom of Whisper White card stock.
How easy was this?! And since this DSP comes with SO MUCH PAPER -- 40 12" x 12" sheets (4 each of 2 double-sided designs in 5 colors), this card will help you use up some of the designs that you would otherwise not have a use for. The ribbon used is also available in the same 5 colors -- which makes it easy to coordinate an entire set of cards!

Delightful Daisy Thank You Card
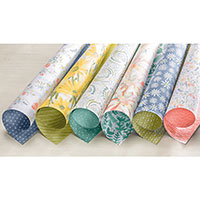
This last card uses one of my favorite designs in the Delightful Daisy DSP set, and like the floral layered card, this card comes together very quickly.
Materials
Stamp Set
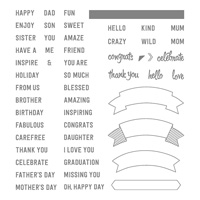
* Thoughtful Banners
Paper
* Chocolate Chip card stock (8-1/2" x 5-1/2")
* Whisper White card stock (5-1/8" x 3-7/8"; scrap for sentiment)
* Cajun Craze card stock (5" x 3-3/4")
* Whisper White THICK card stock (about 4-1/2" x 2-5/8" for leaves)
* Delightful Daisy Designer Series Paper ("DSP"; 3" x 3")
Ink
* Chocolate Chip Classic Stampin' Pad
Accessories and Tools
* Big Shot Die Cutting Machine
* Pinewood Planks Dynamic Embossing Folder
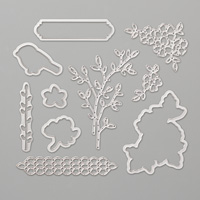
* Petals and More Thinlits Die (2018 Occasions Catalog)
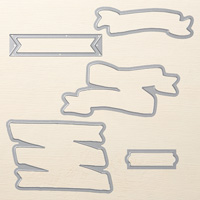
* Bunch of Banners Thinlits Dies
* 2-1/4" Circle Punch
* Linen Thread
* Adhesives: SNAIL Adhesive; Multipurpose Liquid Glue
Instructions
(Unless otherwise indicated, SNAIL Adhesive used to assemble card.)
1. Score 8-1/2" x 5-1/2" card stock at 4-1/4"; fold away from score line to create card.
2. Adhere 5-1/8" x 3-7/8" Whisper White card stock to front of card. Adhere DSP over Whisper White card stock centered from side-to-side and about 1/4" to 1/2" from top of card stock.
3. Use Big Shot and Pinewood Planks embossing folder to add texture to 5" x 3-3/4" Cajun Craze card stock. Use Circle Punch to cue circle in center of card near top (push top edge of paper all the way into the punch and position equal distances on each side before punching). Adhere card stock to front of card so DSP shows through circle.
4. Cut leaves from Whisper White THICK card stock; apply tiny dots of Multipurpose Liquid Glue behind each of the solid leaves and near bottoms of stems and adhere to front of card as shown. (NOTE: I tried cutting the leaves from regular Whisper White card stock, but because it's so delicate, it felt flimsy and difficult to work with. It was much better with the THICK card stock.)
5. Stamp sentiment on scrap of Whisper White card stock. Use Big Shot and Bunch of Banners die to cut out sentiment. Adhere to front of card as shown.
6. Make a loopy bow (mine has three loops) about 1-1/2" wide. Adhere over stems as shown by applying a rolled-up glue dot behind the knot.
Again, a quick and easy card!
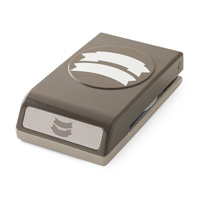
NOTE: The Thoughtful Banners stamp set has a ton of other greetings that would work with the Bunch of Banners dies. They are photopolymer and flexible, so they also coordinate great with the Duet Banner Punch (see image below).


I hope you enjoyed this REALLY LONG post! I also hope this gave you some ideas of how to use up some of that DSP you have hanging around your papercrafting area!
Cathy ;D